


GitOps Journey: Part 1 – Getting Started with ArgoCD and GitHub
Welcome to GitOps Journey — a hands-on guide to setting up infrastructure in Kubernetes using Git and automation.
GitOps has gained traction alongside Kubernetes, CI/CD, and declarative provisioning.
You’ve probably seen it mentioned in blog posts, tech talks, or conference slides — but what does it actually look like in practice?
We’ll start from scratch: prepare a cluster, deploy a PostgreSQL database, run a demo app, and set up observability — all managed via Git and GitHub using ArgoCD.
What We’ll Build
ArgoCD — syncs manifests from a GitHub repository to your cluster
PostgreSQL — a production-ready database using Percona Operator
Demo App — a real Go-based web app connected to the database
Coroot — an open-source tool for monitoring performance, logs, and service behavior
This series is for anyone new to GitOps or Kubernetes.
Each part includes clear steps, real-world YAML, and examples you can run yourself.
This is Part 1 of the GitOps Journey.
If you already have ArgoCD and a working Kubernetes cluster, you can skip ahead:
Copilot assisted with formatting, Markdown structure, and translation.
All ideas, architecture decisions, and hands-on implementation were created by Daniil Bazhenov.
Otherwise, let’s start by preparing the cluster and setting up ArgoCD.
Creating a Kubernetes Cluster
I’ll be using Google Kubernetes Engine (GKE), but you can use AWS, DigitalOcean, or even run Minikube locally.
You’ll also need these CLI tools installed on your machine:
kubectl - The official CLI tool for Kubernetes — used to manage clusters, view resources, apply manifests, and more.
helm - A package manager for Kubernetes — lets you install complex apps using reusable charts (like PostgreSQL, monitoring tools, etc.)
I use the following command to create a cluster in GKE
gcloud container clusters create dbazhenov-demo \
  --project percona-product \
  --zone us-central1-a \
  --cluster-version 1.30 \
  --machine-type n1-standard-8 \
  --num-nodes=3
To delete the cluster:
gcloud container clusters delete dbazhenov-demo --zone us-central1-aNote: This command doesn’t remove your LoadBalancers, so I prefer deleting them manually in Google Cloud’s web console to ensure no resources are left running post-experiment.
Here’s the resulting setup:
➜  community git:(blog_argocd_pg) ✗ kubectl get nodes
NAME                                            STATUS   ROLES    AGE    VERSION
gke-dbazhenov-demo-default-pool-b1b48316-8nrj   Ready    <none>   6m7s   v1.30.12-gke.1279000
gke-dbazhenov-demo-default-pool-b1b48316-8v14   Ready    <none>   6m6s   v1.30.12-gke.1279000
gke-dbazhenov-demo-default-pool-b1b48316-zg6z   Ready    <none>   6m7s   v1.30.12-gke.1279000
➜  community git:(blog_argocd_pg) ✗
Installing ArgoCD
We’ll begin with ArgoCD, the GitOps engine that will deploy:
PostgreSQL database cluster
A demo app to simulate real usage
Coroot for monitoring and profiling workloads
ArgoCD supports multiple deployment methods — we’ll experiment with different ones during this series.
Install ArgoCD (based on official docs):
- Create namespace:
kubectl create namespace argocd- Deploy ArgoCD:
kubectl apply -n argocd -f https://raw.githubusercontent.com/argoproj/argo-cd/stable/manifests/install.yamlCheck the pods:
kubectl get pods -n argocdExpected output: ArgoCD components running (server, repo, redis, controllers, etc.)
➜  community git:(blog_argocd_pg) ✗ kubectl get pods -n argocd
NAME                                                READY   STATUS    RESTARTS   AGE
argocd-application-controller-0                     1/1     Running   0          57s
argocd-applicationset-controller-6d569f7895-89kgk   1/1     Running   0          64s
argocd-dex-server-5b44d67df9-p42z5                  1/1     Running   0          62s
argocd-notifications-controller-5865dfbc8-gqzwt     1/1     Running   0          61s
argocd-redis-6bb7987874-99j59                       1/1     Running   0          61s
argocd-repo-server-df8b9fd78-64czj                  1/1     Running   0          60s
argocd-server-6d896f6785-82tf2 1/1 Running 0 59s- Access ArgoCD UI
You have two options (or more):
- Port forwarding (local only)
kubectl port-forward svc/argocd-server -n argocd 8080:443- Internet-accessible LoadBalancer
kubectl patch svc argocd-server -n argocd -p '{"spec": {"type": "LoadBalancer"}}'I will use Load Balancer by executing the command above, you need to wait a few minutes to get the IP address.
Let’s get the IP address of the ArgoCD service in the EXTERNAL-IP field.
kubectl get svc argocd-server -n argocd➜ community git:(blog_argocd_pg) ✗ kubectl get svc argocd-server -n argocd
NAME TYPE CLUSTER-IP EXTERNAL-IP PORT(S) AGE
argocd-server LoadBalancer 34.118.234.162 34.132.39.194 80:30549/TCP,443:32146/TCP 9m51sAccess the UI in your browser using the IP.
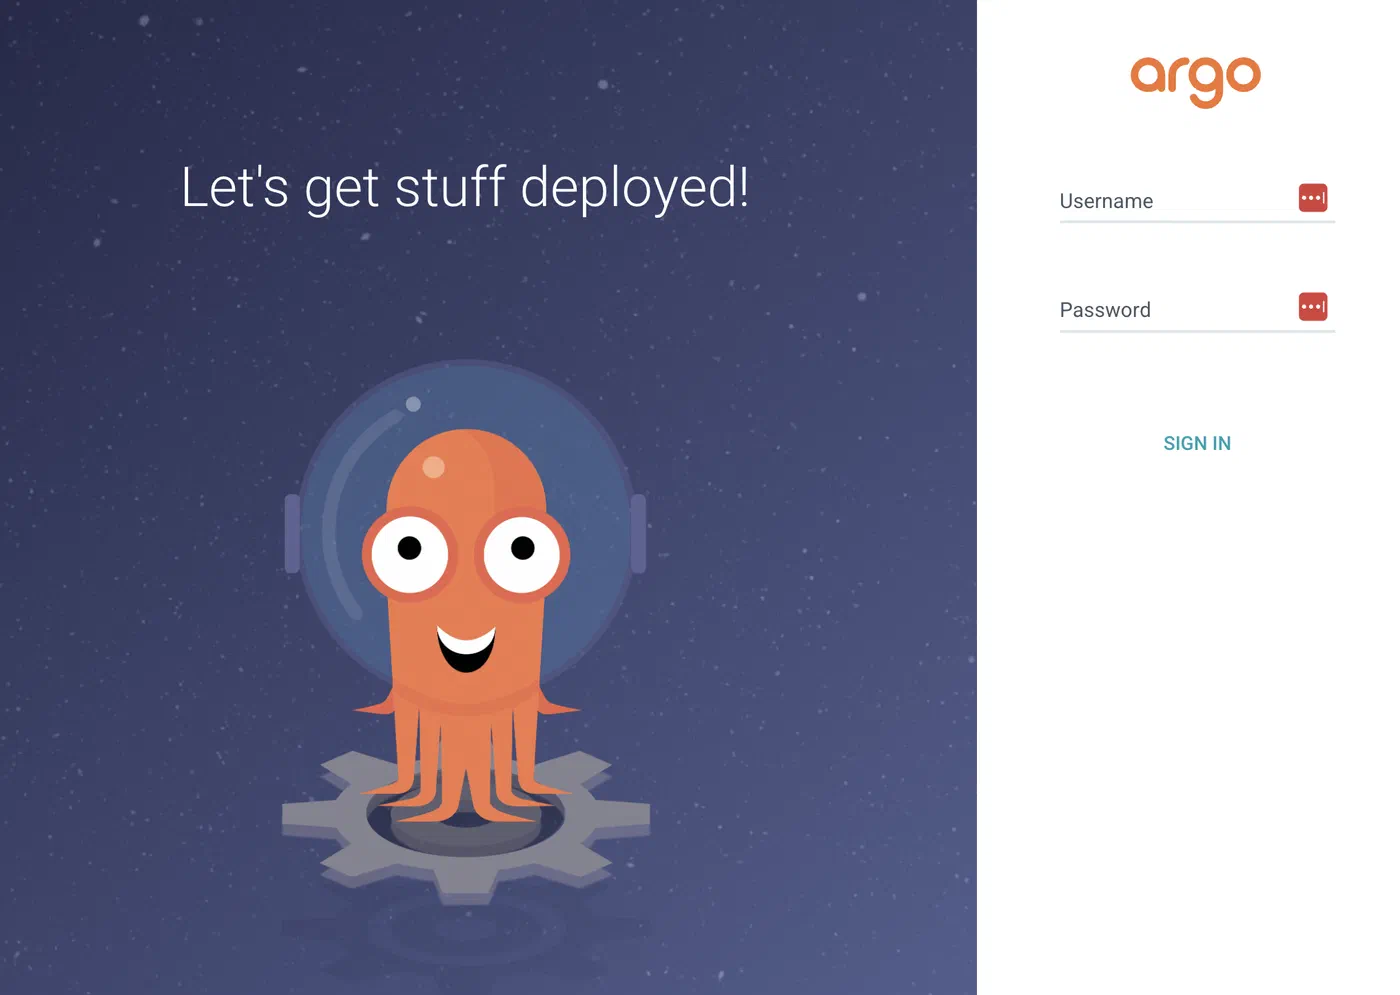
- Getting Started with ArgoCD Login
Download Argo CD CLI
Install ArgoCD CLI (see instructions).
Get the initial password:
argocd admin initial-password -n argocdArgoCD recommends changing it to a new secure password, which we will do.
Log in via CLI:
argocd login 34.132.39.194 --insecureAuthorize using initial-password and user admin and execute the password update command
argocd account update-passwordAll the steps to get and update your password are below.
➜  community git:(blog_argocd_pg) ✗ argocd admin initial-password -n argocd
0mxV6IVcF3qZDR-O

 This password must be only used for first time login. We strongly recommend you update the password using `argocd account update-password`.
➜  community git:(blog_argocd_pg) ✗ argocd login 34.132.39.194 --insecure
Username: admin
Password:
'admin:login' logged in successfully
Context '34.132.39.194' updated
➜  community git:(blog_argocd_pg) ✗ argocd account update-password
*** Enter password of currently logged in user (admin):
*** Enter new password for user admin:
*** Confirm new password for user admin:
Password updated
Context '34.132.39.194' updated
➜ community git:(blog_argocd_pg) ✗- Now log into the ArgoCD web UI using admin and your new password.
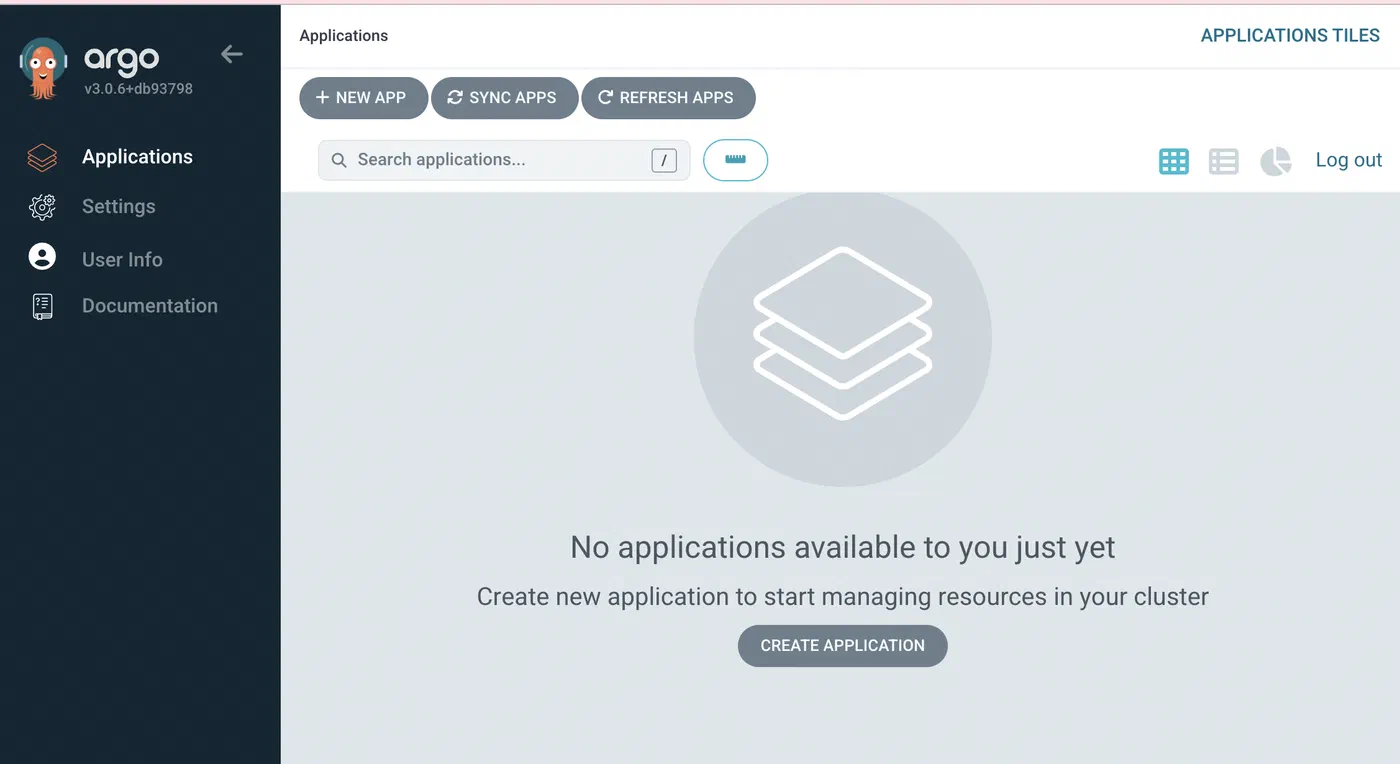
Welcome to the ArgoCD interface, we don’t have any applications right now, we will install them later.
Setting Up GitHub Repo
We’ll need a GitHub repo to store infrastructure manifests. ArgoCD will sync from this repo and apply changes.
Install git and create a GitHub account
Add your SSH key to your GitHub profile. GitHub SSH settings
Create a new GitHub repository
I recommend a public repo for this educational project — no secrets will be committed, and it simplifies ArgoCD setup. Plus, it earns you some green squares on GitHub. If you go with a private repo, make sure it’s properly linked in ArgoCD.
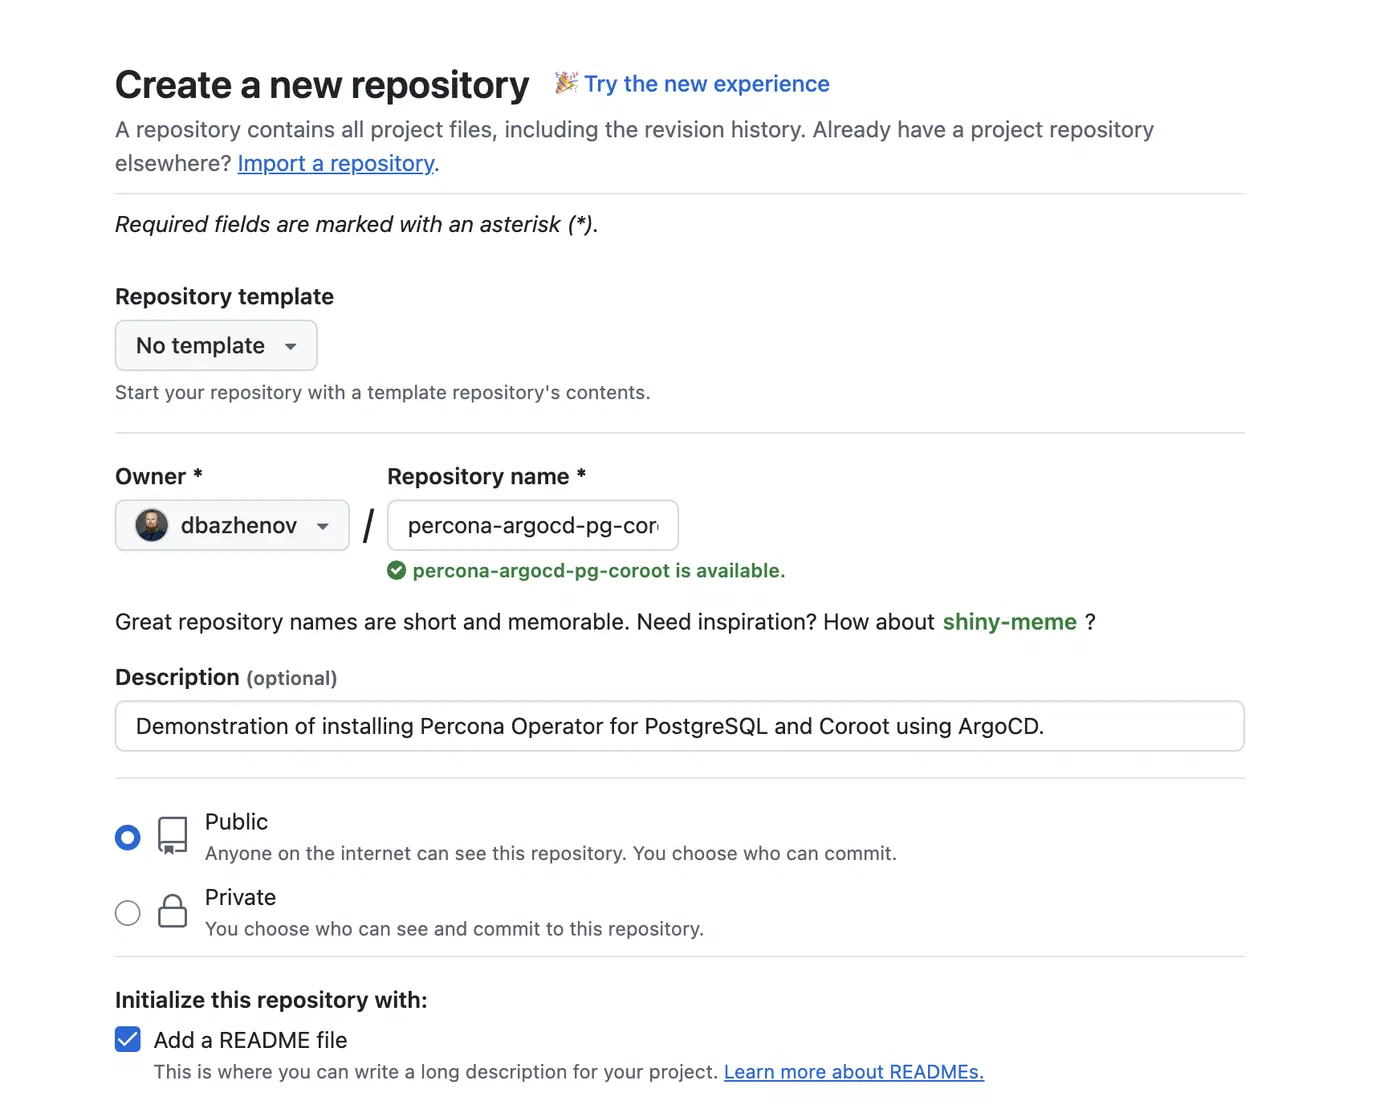
- Clone the repo:
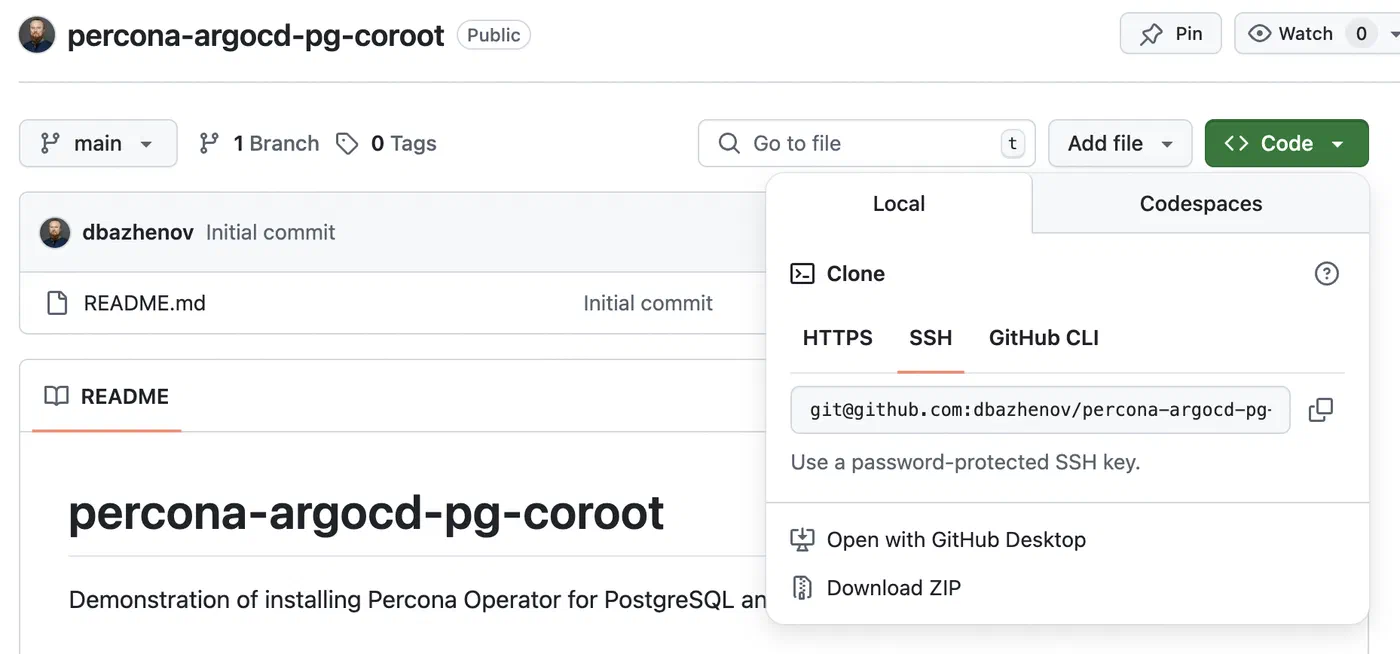
Clone the repository using an SSH address.
git clone git@github.com:dbazhenov/percona-argocd-pg-coroot.gitNavigate to the project directory
cd percona-argocd-pg-corootExpected output:
➜  gitops git clone git@github.com:dbazhenov/percona-argocd-pg-coroot.git
Cloning into 'percona-argocd-pg-coroot'...
remote: Enumerating objects: 3, done.
remote: Counting objects: 100% (3/3), done.
remote: Compressing objects: 100% (2/2), done.
Receiving objects: 100% (3/3), done.
remote: Total 3 (delta 0), reused 0 (delta 0), pack-reused 0 (from 0)
➜  gitops cd percona-argocd-pg-coroot
➜  percona-argocd-pg-coroot git:(main) ls
README.md
➜  percona-argocd-pg-coroot git:(main)
Summary
We’ve prepared everything to launch our GitOps-powered infrastructure:
Kubernetes cluster
ArgoCD deployed
GitHub repo ready
In the next posts, we’ll deploy the PostgreSQL cluster, the demo app, and add Coroot monitoring.
Stay tuned! ∎




Discussion
We invite you to our forum for discussion. You are welcome to use the widget below.