Welcome to this blog post! Today, our primary goal is to guide you through deploying Percona Everest on GCP using Kubectl, specifically for users on Windows 11. It’s been some time since I last used Windows, so this will be an excellent opportunity to do it from scratch.
Let me tell you a little bit about Percona Everest. You may have already heard it recently. It is the new open source tool launched by Percona and is already well-received by Kubernetes database users.
Percona Everest is an open source cloud-native database platform that helps developers deploy code faster, scale deployments rapidly, and reduce database administration overhead while regaining control over their data, database configuration, and DBaaS costs. It is designed for those who want to break free from vendor lock-in, ensure optimal database performance, enable cost-effective and right-sized database deployments, and reduce database administration overhead.
If you use Windows and want to try the deployment and use of Percona Everest, you are in the right place.
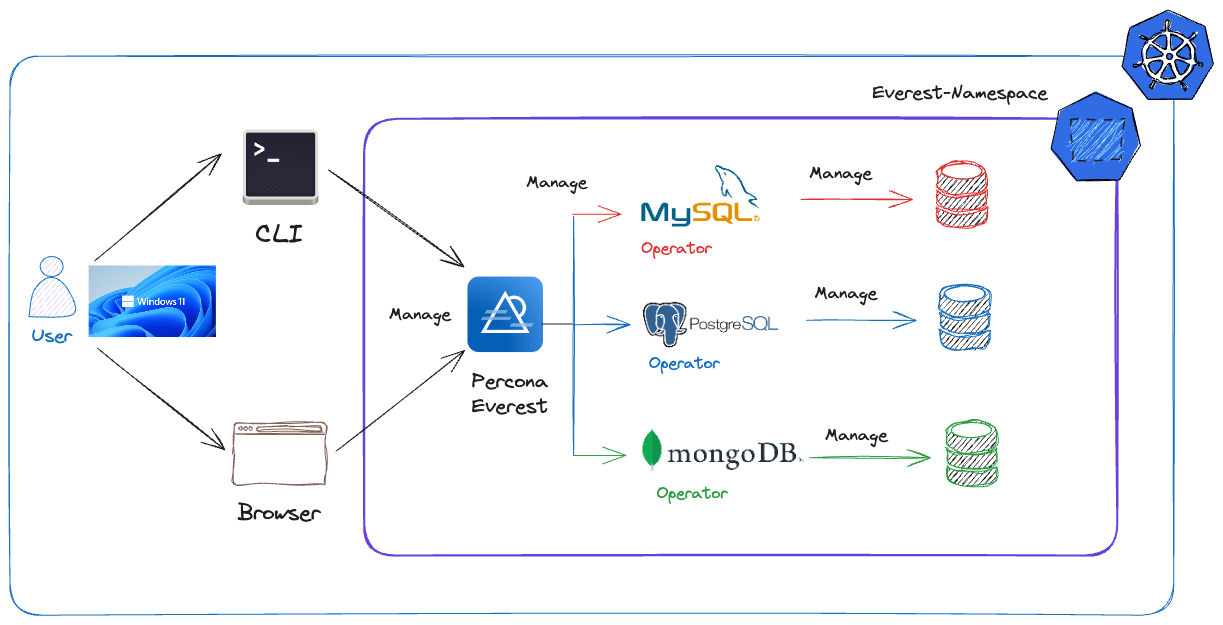
This image shows what Percona Everest does and what we want to achieve:
Install WSL
We will use Kubectl to run commands on our Kubernetes clusters. There are many ways to use Kubectl on Windows.
I will use WSL (Windows Subsystem for Linux) to use the Linux environment directly on Windows. It is beneficial because “kubectl” and other Kubernetes tools often have better support.
In Windows 11, open PowerShell as Administrator and run:
wsl --installThis command will install WSL using the default options, including Ubuntu distribution and enabling the WSL 2 version.
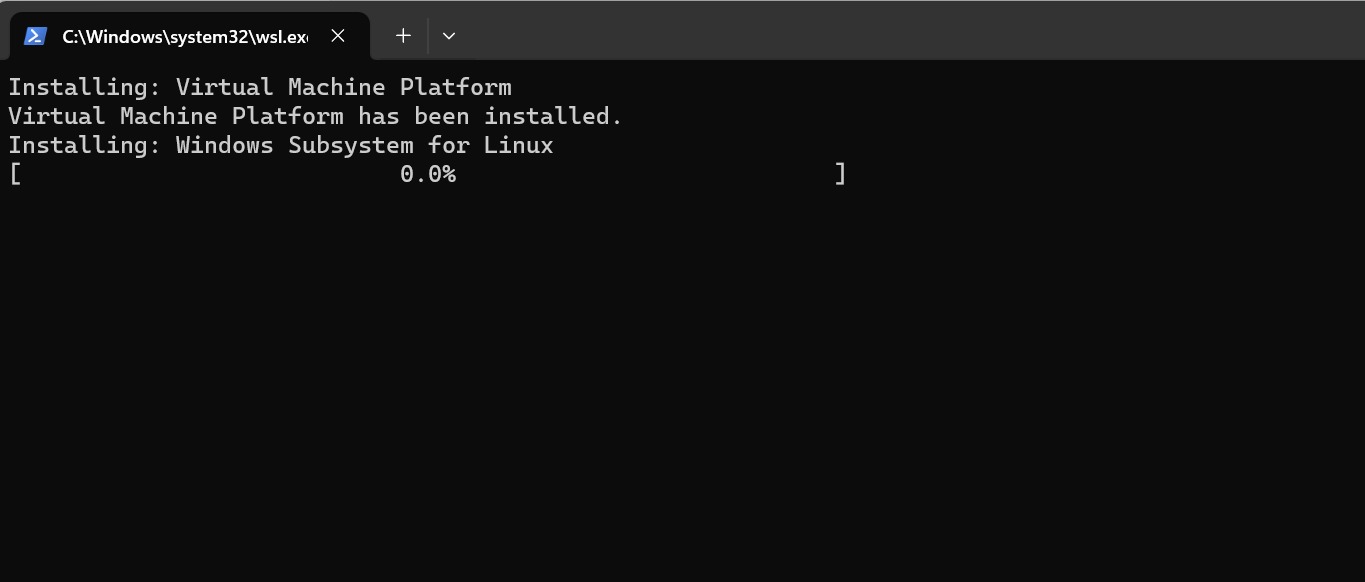
Then restart your computer and open the newly installed Linux distribution from the Start menu. Complete the initial setup by creating a user account and password. Then update and upgrade your Linux distribution:
sudo apt update && sudo apt upgradeWoolaa! We have Ubuntu running on Windows!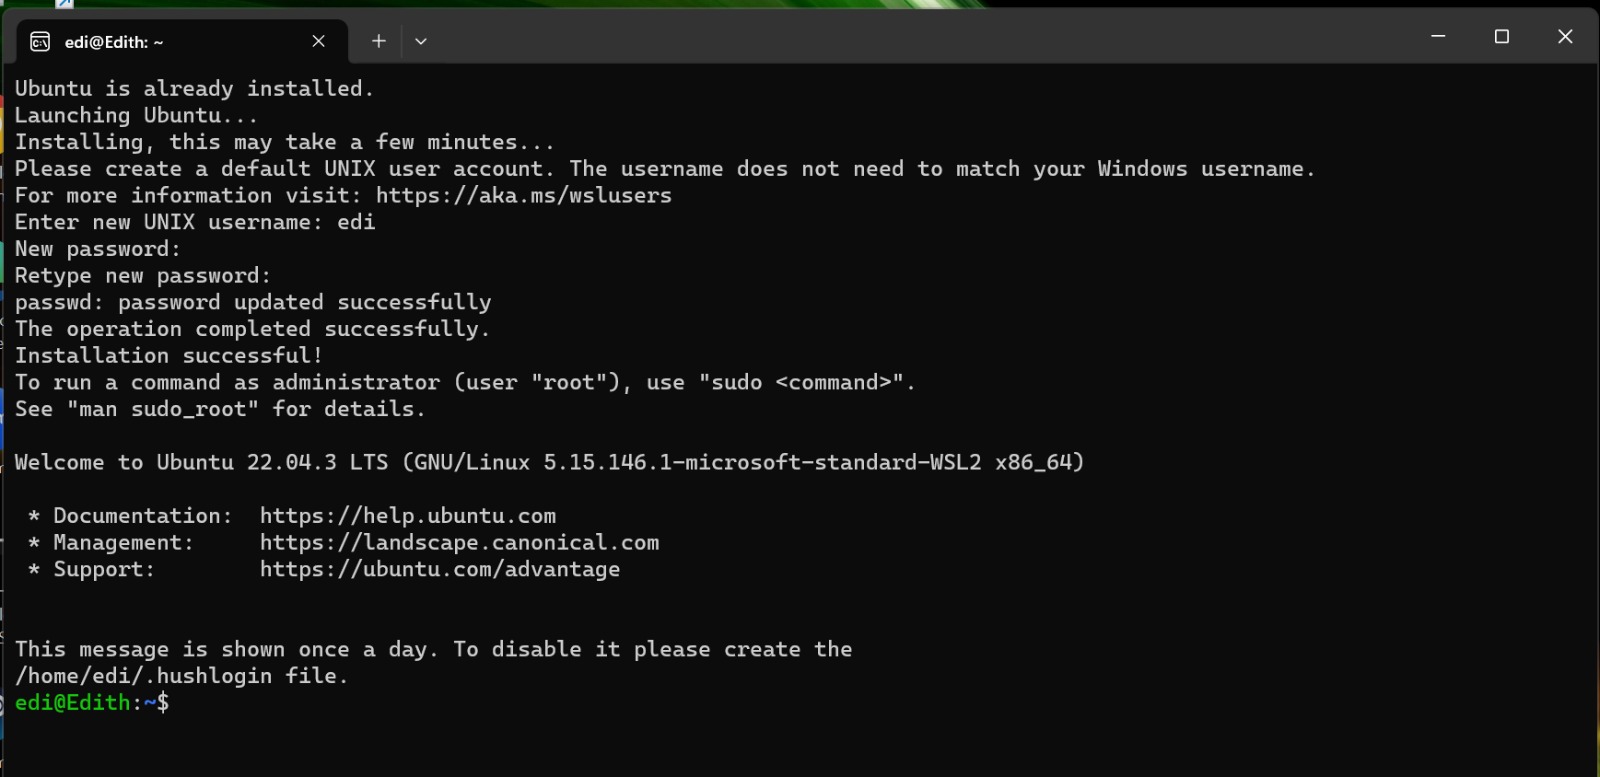
Installing WSL allows your Windows machine to run kubectl and other Linux-only applications smoothly. This setup is beneficial for developers and system administrators who work with both Windows and Linux systems.
Install Kubectl
In our Ubuntu terminal on Windows, we will use official documentation to install it using the native package management system.
# Download the latest release with the command:
curl -LO "https://dl.k8s.io/release/$(curl -L -s https://dl.k8s.io/release/stable.txt)/bin/linux/amd64/kubectl"

# Install kubectl
sudo install -o root -g root -m 0755 kubectl /usr/local/bin/kubectl

# Test to ensure the version you installed is up-to-date:
kubectl version --client
Creating a Kubernetes Cluster in Google Cloud
To create a Kubernetes Cluster with GKE, you need to have access to Google Cloud. Ensure it functions correctly and that you can access your Google project and create Kubernetes clusters. Also, ensure you have the gke-gcloud-auth-plugin installed. You can check if this is installed by running the “gcloud components list” command. If it is not installed, follow the official documentation.
I have already set it up. Now, I will proceed to create my Kubernetes cluster.
gcloud container clusters create percona-everest --zone europe-west2-c --machine-type n1-standard-4 --num-nodes=3Install Percona Everest
A prerequisite for installing Percona Everest is having a Kubernetes cluster. I have one that I created with GKE. To verify the Kubernetes cluster, run the following:
kubectl get nodes
NAME                                            STATUS ROLES   AGE     VERSION
gke-percona-everest-default-pool-1f7a9664-b3hd  Ready  <none>  1h11m   v1.27.8-gke.1067004
gke-percona-everest-default-pool-1f7a9664-b5c3  Ready  <none>  1h11m   v1.27.8-gke.1067004
gke-percona-everest-default-pool-1f7a9664-nck4  Ready  <none>  1h11m   v1.27.8-gke.1067004
Before running the commands in the Installation section, note that Everest will search for the kubeconfig file at the ~/.kube/config path
export KUBECONFIG=~/.kube/configThe time to install Percona Everest. To install it, run the following command:
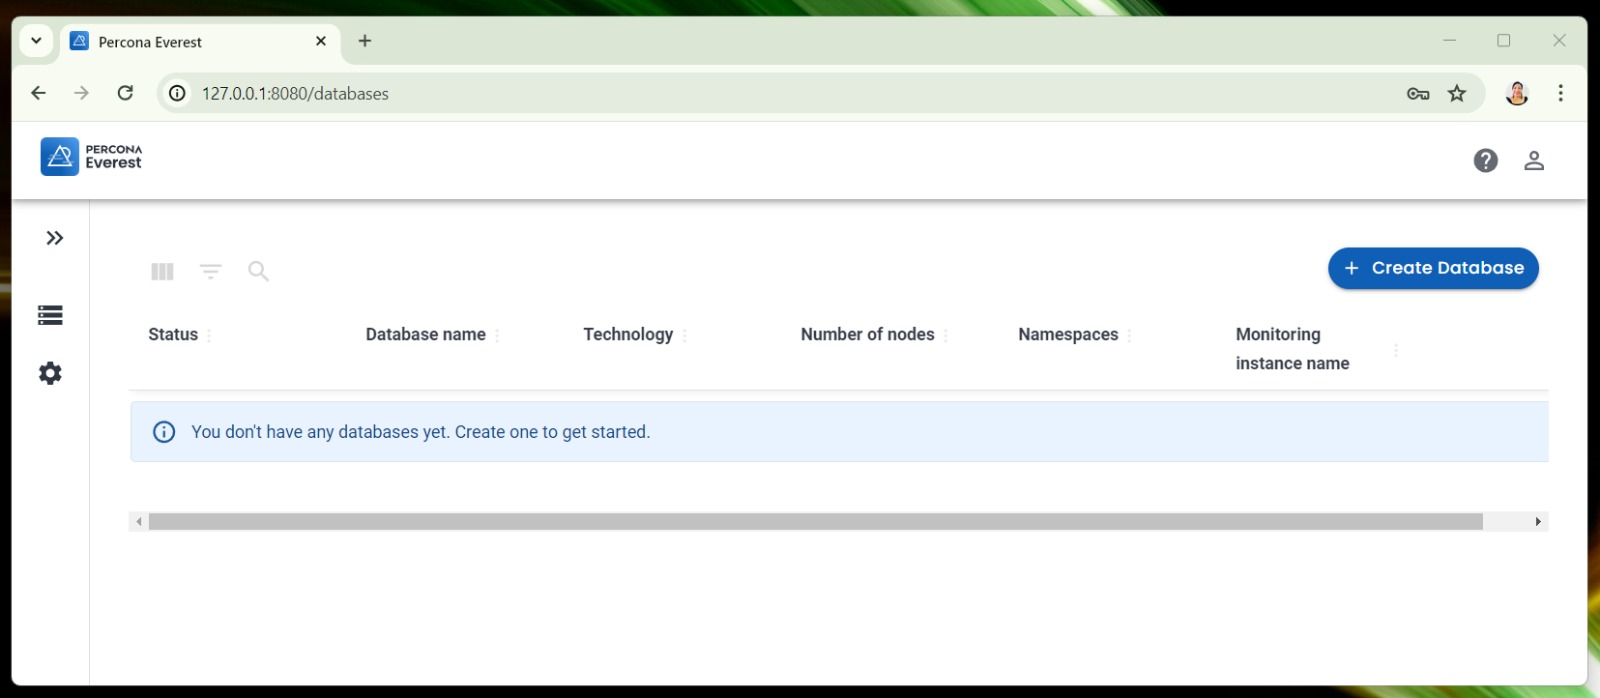
curl -sfL "https://raw.githubusercontent.com/percona/everest/v0.9.1/install.sh" | bashAfter installing it, you will see an output similar to the one on the left. In your browser, you can directly open 127.0.0.0:8080. Voilà! We now have Percona Everest up and running!
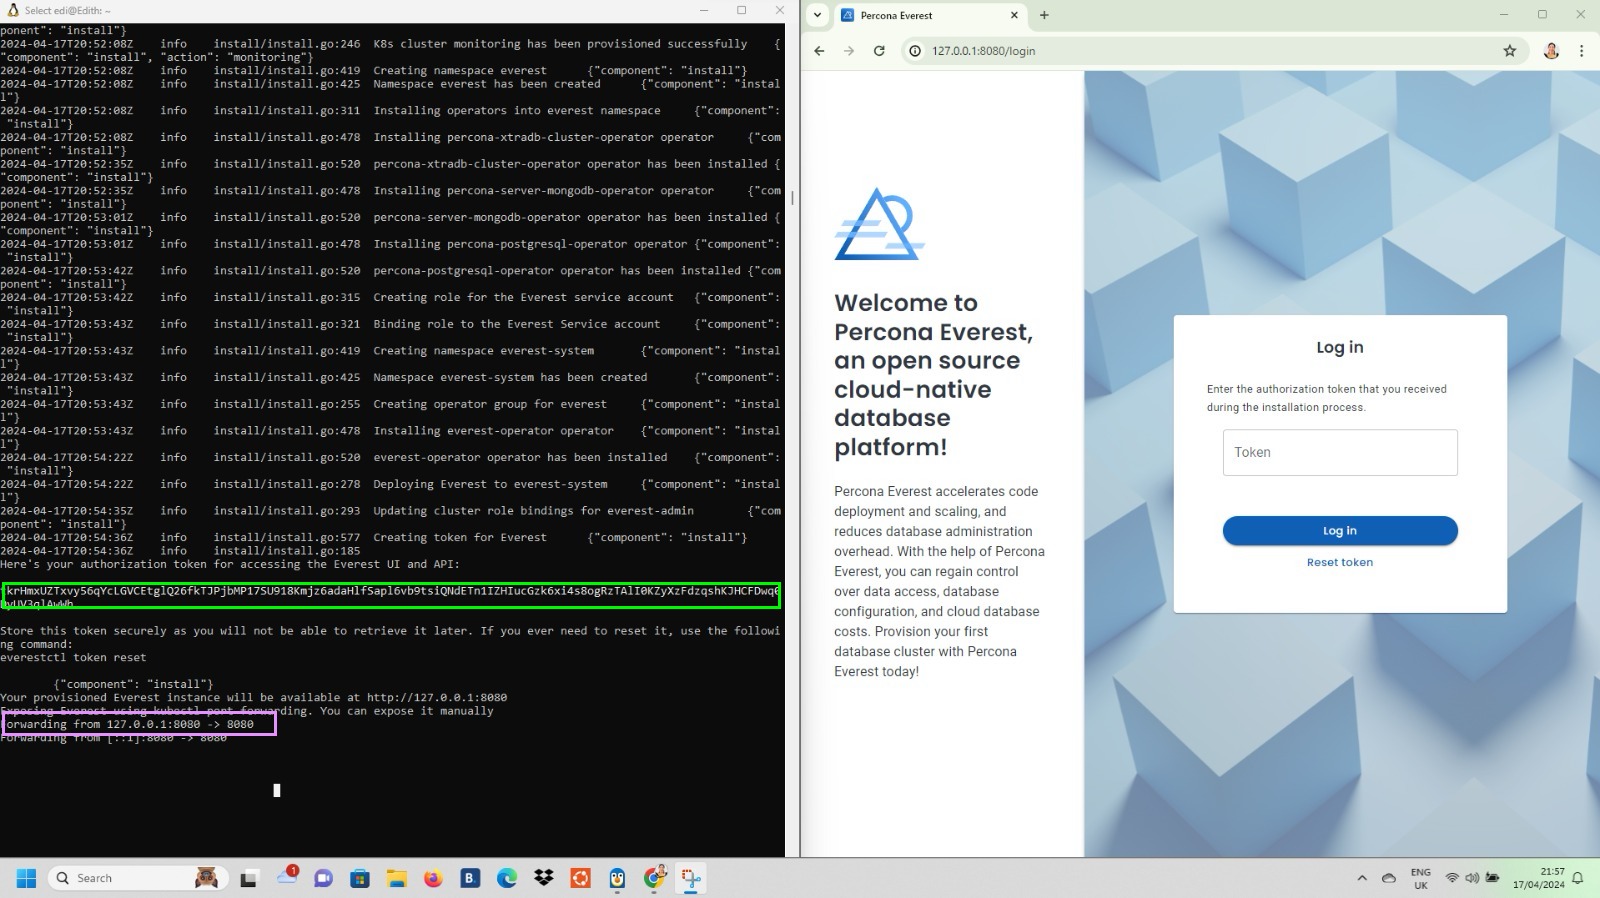
As the output indicates, the Percona Everest app will be available at http://127.0.0.1:8080. We use the authorization token to access the Everest UI and API.
We don’t have a database, so let’s create a new one!
This is the amazing thing about Percona Everest… you can create MySQL, MongoDB, and PostgreSQL databases on Kubernetes! Woohoo!!!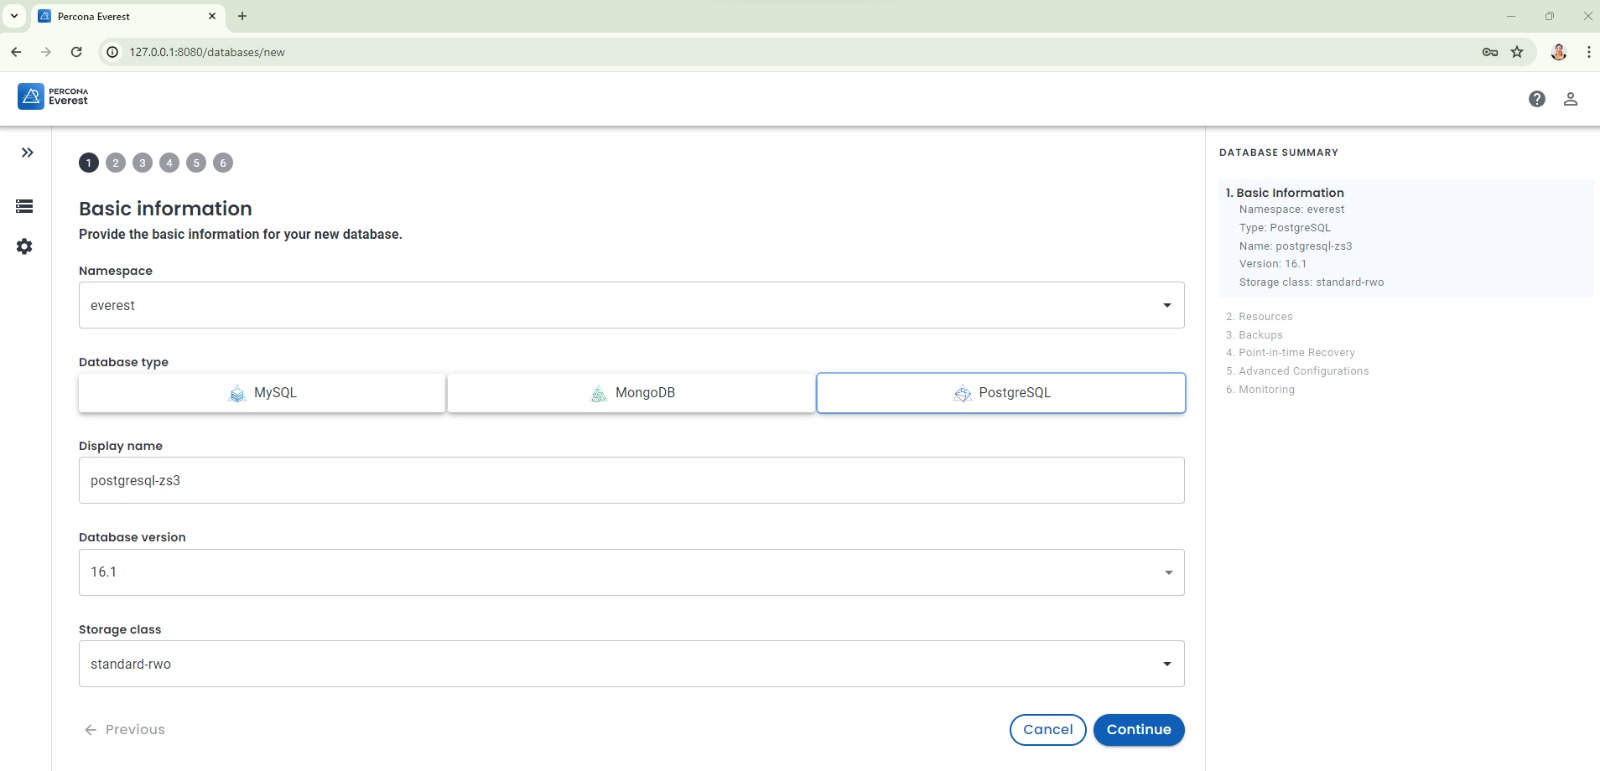
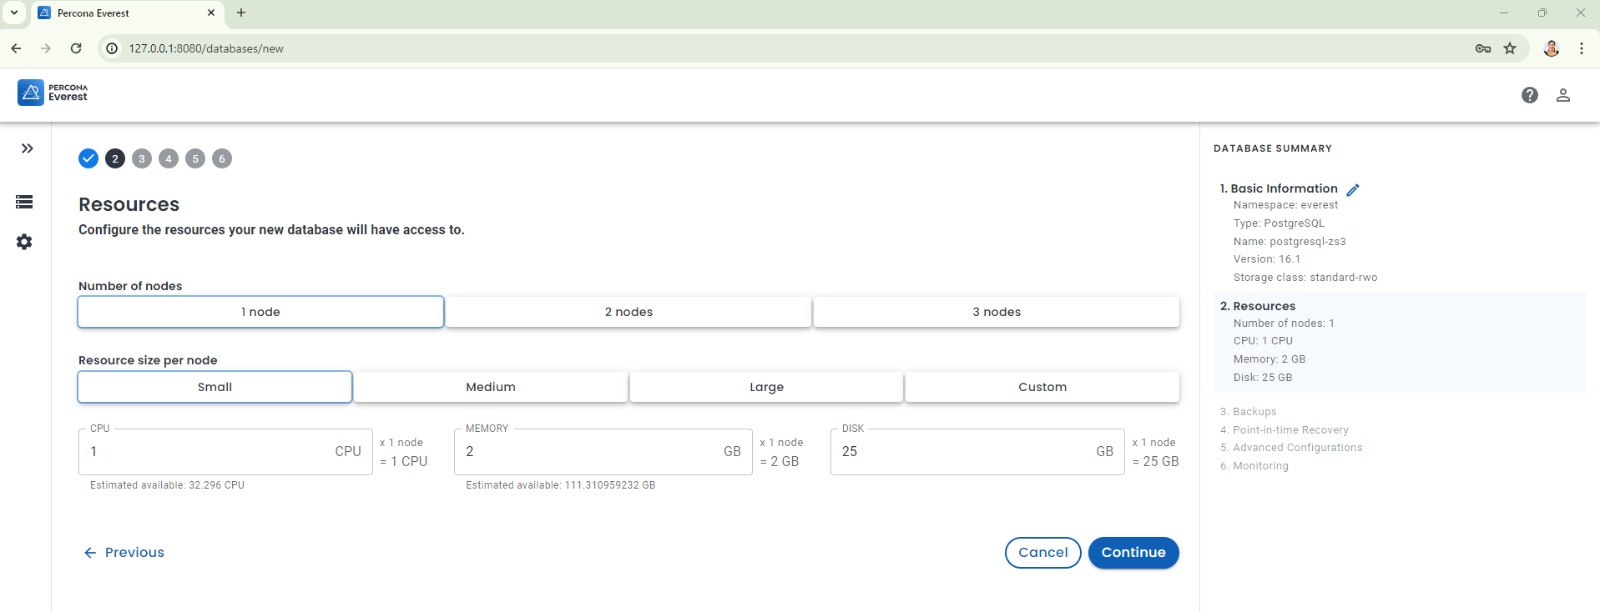
You can configure the resources for a new database, set up backups, monitoring, point-in-time recovery, and more:

Conclusion
Deploying Percona Everest on GCP using kubectl from a Windows 11 platform demonstrates the versatility and robust capabilities of managing databases on Kubernetes. The process should help you set up a powerful cloud-native database platform efficiently. We’ve walked through setting up your environment, installing necessary tools, creating a Kubernetes cluster, and finally deploying Percona Everest. Now, you can take full advantage of everything Percona Everest offers, from operational flexibility to cost efficiency.
If Percona Everest seems cool, feel free to contribute—it’s open source! Find Percona Everest on GitHub. If you encounter any issues during installation or have more questions, write to us in our community forum. If you prefer learning visually through videos, we have a friendly playlist of Percona Everest. ∎

Discussion
We invite you to our forum for discussion. You are welcome to use the widget below.