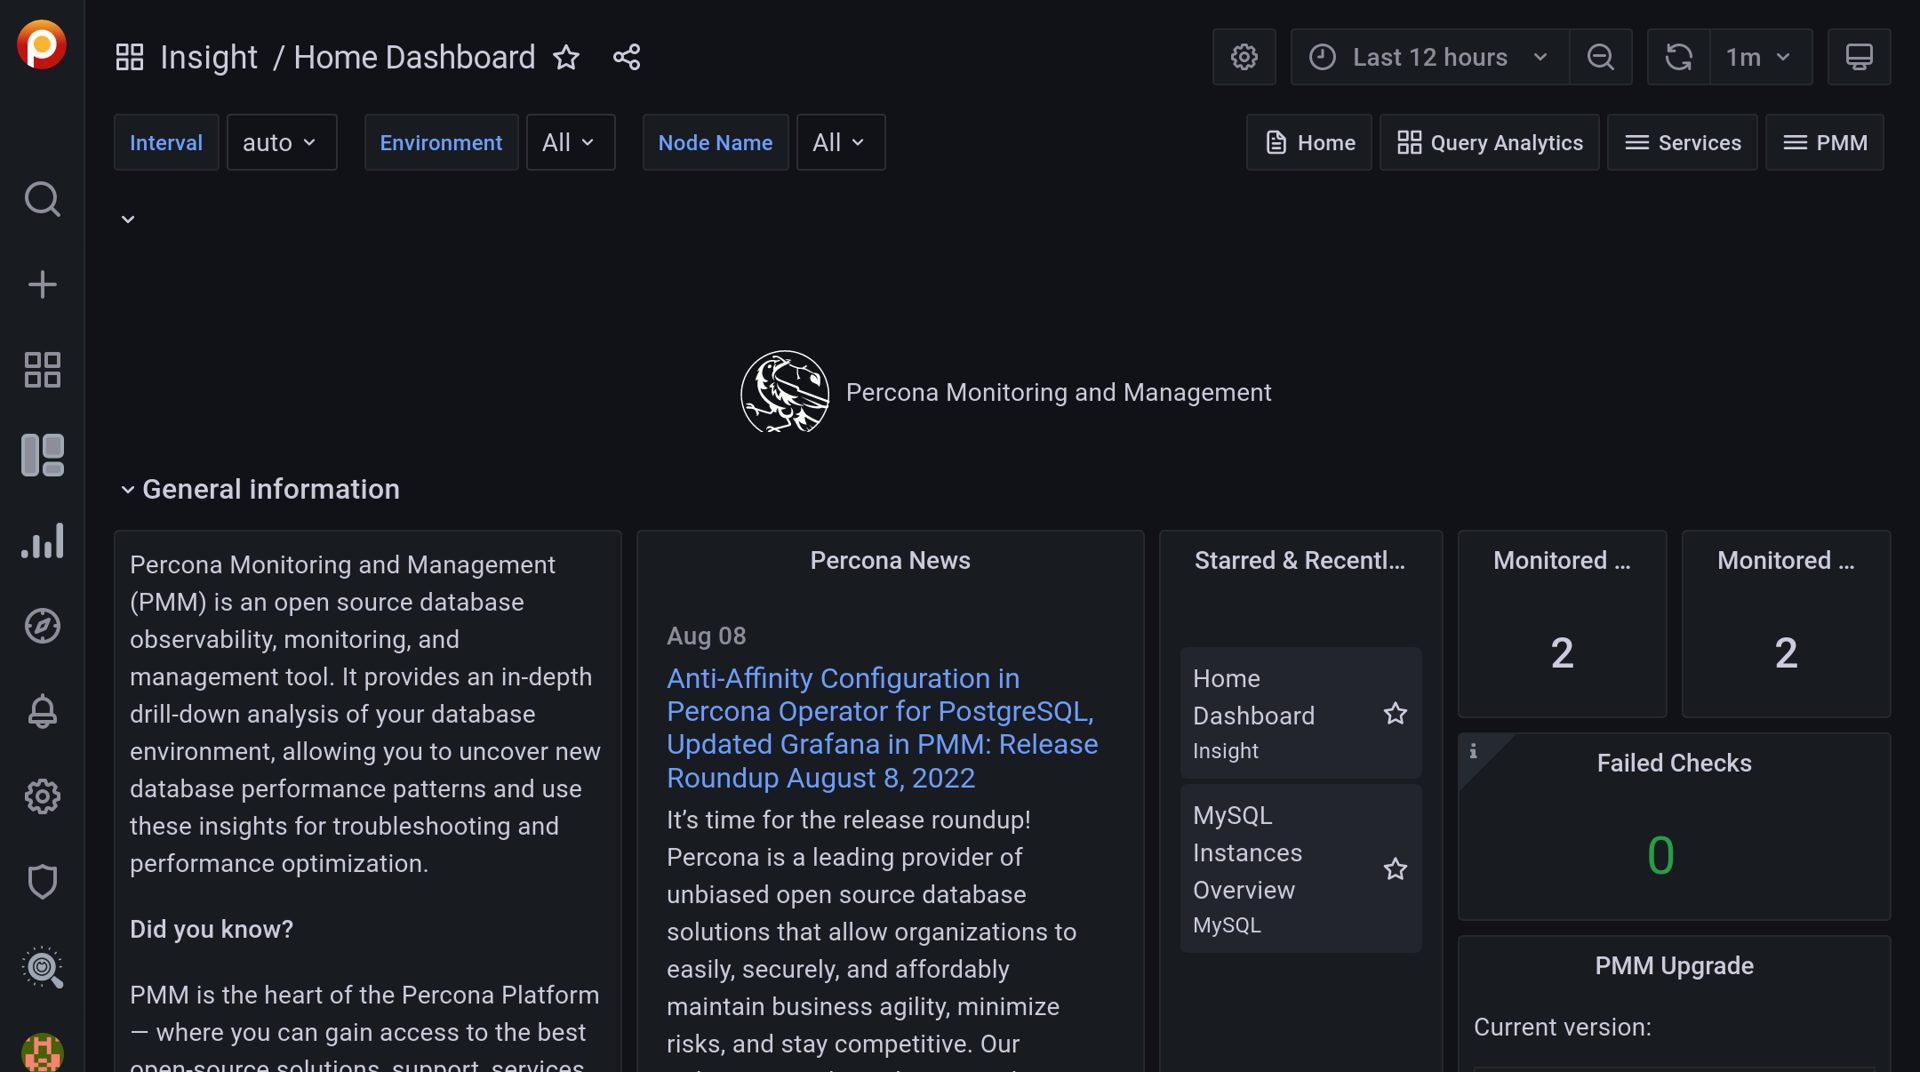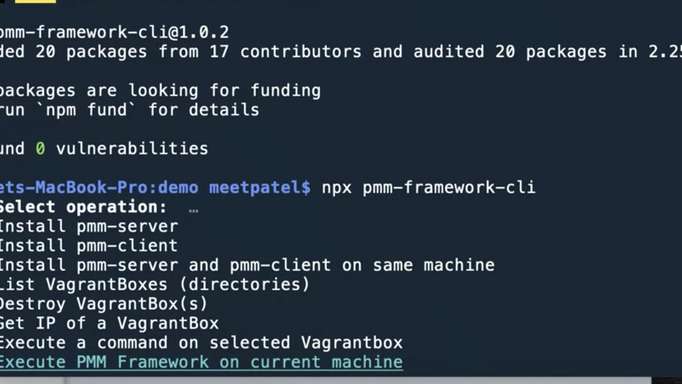
Percona Monitoring and Management (PMM) is an open source database monitoring, observability, and management tool that can be used for monitoring the health of your database infrastructure, exploring new patterns in database behavior, and managing and improving the performance of your databases no matter where they are located or deployed.
PMM is designed to work with MySQL (including Percona Server for MySQL, Percona XtraDB Cluster, Oracle MySQL Community Edition, Oracle MySQL Enterprise Edition, and MariaDB), PostgreSQL (including Percona Distribution for PostgreSQL), MongoDB (including Percona Server for MongoDB), Amazon RDS, Amazon Aurora, Proxy SQL, and Percona XtraDB Cluster.
Debian, Ubuntu, and Red Hat (AlmaLinux, Oracle Linux or Rocky Linux may also work) are supported. If you try installing on another distribution, might get the following message when trying to activate ps80, pdps-8.0 or pdpxc-8.0 repositories:
$ sudo percona-release setup ps80
Specified repository is not supported for current operating system!
Meaning your OS is not supported yet.
While PMM, both the server and the client, can be installed on most operating systems, if you want to set up MySQL on an OS that is not supported, you must consider configuring a virtual machine for Percona Server for MySQL.
Check the documentation for more details about repositories maintained by Percona and supported platforms.
You can find system requirements for PMM in the Frequently Asked Questions. PMM Server and PMM clients communicate through the ports specified in the Terminology section.
Note: Instructions for installing PMM and Percona Server for MySQL, described in the following sections, are for Debian, Ubuntu and derivatives. For Red Hat and derivatives, check the Quickstart guide and Installing Percona Server for MySQL on Red Hat Enterprise Linux and CentOS from the documentation.
Configuring a virtual machine for MySQL
If you’re on Linux and using a distribution that is not supported, configure a virtual machine before installing Percona Server for MySQL, otherwise continue with the “Installing and Configuring MySQL” section.
Multipass
Multipass is an open source tool to generate cloud-style Ubuntu VMs quickly on Linux, macOS, and Windows.
It gives you a simple but powerful CLI that allows you to quickly access an Ubuntu command line or create your own local mini-cloud. On Linux, Multipass must be installed through a snap package. If Snap is not installed on your system, check the documentation for instructions on how to install.
$ sudo snap install multipass
Then, create your virtual machine:
$ multipass launch lts --name percona
By default, when running multipass launch lts –name percona, Multipass will create a virtual machine with 1 GB of RAM and a 4.7 GB disk. A new installation of MySQL only uses 2.4 GB, along with the operating system. A VM created with default configuration of Multipass would be enough for running MySQL.
If you need a virtual machine with more resources, you can create a custom one with desired memory, storage and CPUs.
$ multipass launch lts --name percona --mem 2G --disk 10G --cpus 2
The previous command will create a VM with 2 GB of RAM, a 10 GB disk and 2 CPUs.
Once your VM is created and launched, you can access it by running multipass shell percona.
No additional configuration is required. Ports will be open automatically, and you can connect to any service configured on your VM through the IP address assigned by Multipass.
multipass info percona will give you information about your VM, including IP address.
Name:           percona
State:          Running
IPv4:           10.203.227.64
Release:        Ubuntu 20.04.4 LTS
Image hash:     692406940d6a (Ubuntu 20.04 LTS)
Load:           0.09 0.09 0.10
Disk usage:     2.3G out of 9.5G
Memory usage:   550.4M out of 1.9G
Mounts:         –
10.203.227.64 is the IP address of your virtual machine. You will need this value to set up PMM for monitoring MySQL.
Run ip route show to know the IP address that the host is identified by when logging into the VM. You will see a line similar to this:
10.203.227.0/24 dev mpqemubr0 proto kernel scope link src 10.203.227.1
10.203.227.1 is the IP address that Multipass uses to identify the host.
Both host and virtual machine IP addresses are required for configuring PMM.
Log into your virtual machine for continuing with installation of Percona Server for MySQL:
$ multipass shell percona
Installing required packages
Install curl and gnupg2
Before installing PMM or Percona Server for MySQL, make sure curl and gnupg2 are installed.
$ sudo apt install -y curl gnupg2
Install percona-release
The percona-release configuration tool allows users to automatically configure which Percona Software repositories are enabled or disabled. It supports both apt and yum repositories. Percona Server for MySQL will be installed from the ps80 repository and percona-release is necessary for activating this repository.
A good resource to learn more about this tool is this article from Percona blog.
Get the repository packages:
$ wget https://repo.percona.com/apt/percona-release_latest.$(lsb_release -sc)_all.deb
Install the downloaded package with dpkg:
$ sudo dpkg -i percona-release_latest.$(lsb_release -sc)_all.deb
Installing and Configuring MySQL
Install Percona Server for MySQL
Enable the ps80 repository:
$ sudo percona-release setup ps80
Install percona-server-server, the package that provides the Percona Server for MySQL:
$ sudo apt install percona-server-server
After installation, confirm that the service is running. You can check the service status by running:
$ service mysql status
If the server is running, you will get the following output:
● mysql.service - Percona Server
     Loaded: loaded (/lib/systemd/system/mysql.service; enabled; vendor preset: enabled)
     Active: active (running) since Mon 2022-08-01 08:20:59 CDT; 1h 20min ago
   Main PID: 15552 (mysqld)
     Status: "Server is operational"
      Tasks: 38 (limit: 2339)
     Memory: 362.7M
     CGroup: /system.slice/mysql.service
             └─15552 /usr/sbin/mysqld

Aug 01 08:20:57 percona systemd[1]: Starting Percona Server...
Aug 01 08:20:59 percona systemd[1]: Started Percona Server.
Otherwise, start the server:
$ sudo service mysql start
Install MySQL Shell
MySQL Shell is an advanced client and code editor for MySQL. This document describes the core features of MySQL Shell. In addition to the provided SQL functionality, similar to mysql, MySQL Shell provides scripting capabilities for JavaScript and Python and includes APIs for working with MySQL
Install MySQL Shell by running:
$ sudo apt install percona-mysql-shell
MySQL Shell will be used for configuring PMM to monitor MySQL. When necessary, just log into MySQL Shell as root:
$ mysqlsh root@localhost
It will ask you for the password you assigned to the root user during the installation of Percona Server for MySQL.
Installing and Configuring PMM
PMM runs from a container, so Docker must be installed if not already on your system. Percona has an easy-install script that would install Docker and any other required packages, as well as installing PMM Server.
The easy-install script provided by Percona checks if Docker is already on your system, otherwise it uses the get-docker script that will create a docker.list file inside the /etc/apt/sources.list.d directory, containing the official repository, and it will install and configure Docker on your system.
Run the following command to get PMM Server:
$ curl -fsSL https://www.percona.com/get/pmm | /bin/bash
Install PMM client:
$ sudo apt install pmm2-client
Connect client to server:
$ sudo pmm-admin config --server-insecure-tls --server-url=https://admin:<password>@pmm.example.com
Replace <password> with default password (admin) and pmm.example.com with localhost. Once you set up PMM and log into the dashboard from the browser, you will be required to change your password.
Go to https://localhost in the browser.
Note: If you’re running MySQL from a virtual machine, log into your VM before running the following instructions.
Log into MySQL Shell as root and change to SQL mode:
$ mysqlsh root@localhost
   \sql
Create a PMM user for monitoring MySQL:
CREATE USER 'pmm'@'localhost' IDENTIFIED BY 'pass' WITH MAX_USER_CONNECTIONS 10;
GRANT SELECT, PROCESS, SUPER, REPLICATION CLIENT, RELOAD, BACKUP_ADMIN ON *.* TO 'pmm'@'localhost';
Replacing 'pass' with your desired password.
Note: Replace 'localhost' with the IP address of the host, if you installed Percona Server for MySQL on a virtual machine.
Register the server for monitoring:
$ sudo pmm-admin add mysql --username=pmm --password=<password> --query-source=perfschema
Where <password> is the password you assigned to the user created for monitoring MySQL.
Note: if you installed Percona Server for MySQL on a virtual machine, replace above command as follows: sudo pmm-admin add mysql --username=pmm --password=<password> --host <virtual-machine-IP-address> --query-source=perfschema.
PMM is now configured and monitoring MySQL. ∎


Discussion
We invite you to our forum for discussion. You are welcome to use the widget below.