
Running PMM with Docker on Ubuntu 20.04
I started at Percona a few weeks ago and was looking for a quick way to learn about PMM (Percona Monitoring and Management), which is one of my favorite technologies within Percona to monitor the health of our database infrastructure, explore new patterns in the database behavior, manage and improve the performance of our databases, all with customizable dashboards and real-time alerts using Grafana and VictoriaMetrics.
The best of all is that PMM is Open Source, you can check the PMM repository in case you want to contribute.
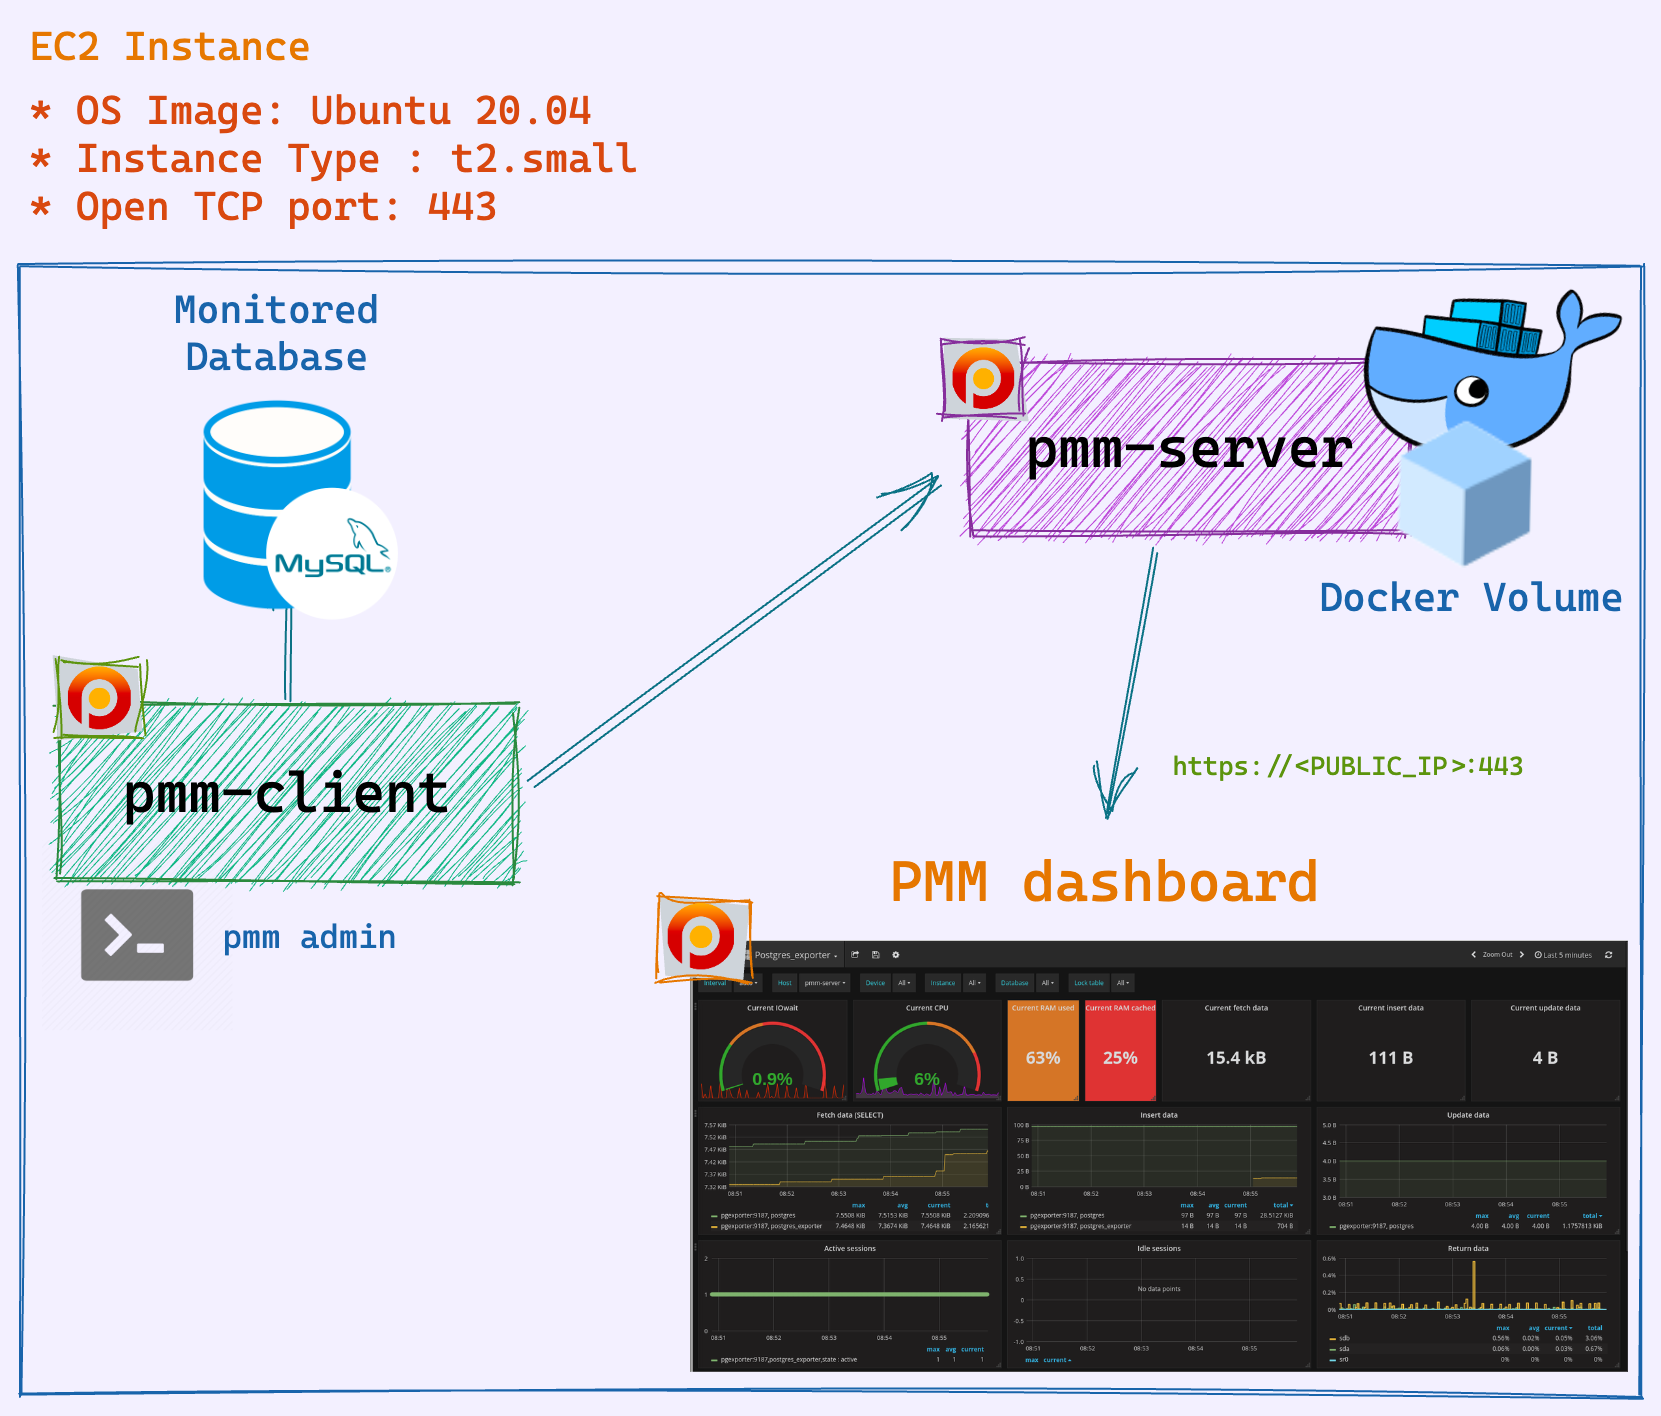
There are many flavors for PMM installation, here I will describe the steps to install PMM on Ubuntu 20.04, using Docker for PMM Server on an Amazon EC2 instance.
This image summarizes our goal.
Requirements
- An Amazon EC2 instance with Ubuntu 20.04
- This instance is configured with a Security Group with TCP port 443 open.
- Docker
- You can install Docker by following this guide.
- Manage Docker as a non-root user: sudo usermod -aG docker $USER
- MySQL
- I am using Percona Server for MySQL from Percona apt repository
Installing PMM Server with Docker
- Download PMM server Docker image
docker pull percona/pmm-server:2- Create the data volume container
docker create --volume /srv --name pmm-data percona/pmm-server:2 /bin/true- Run PMM server container
docker run --detach --restart always --publish 443:443 --volumes-from pmm-data --name pmm-server percona/pmm-server:2- Verify the creation of the container.
docker ps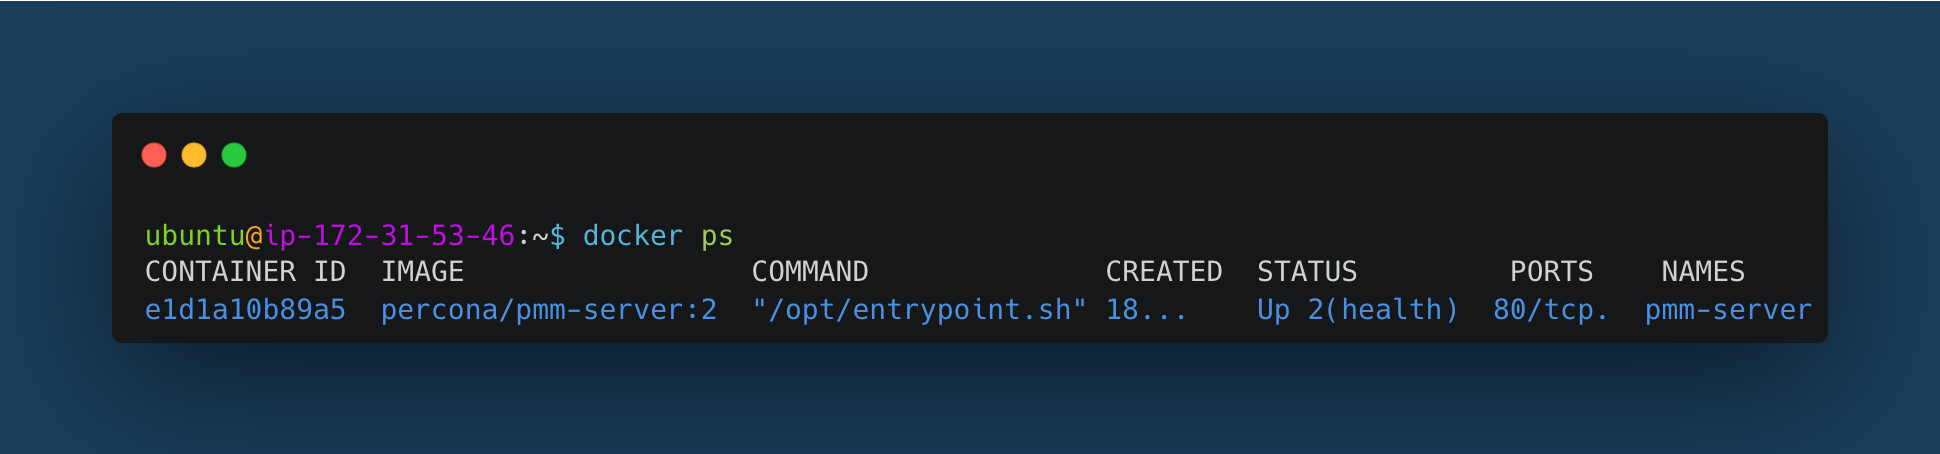
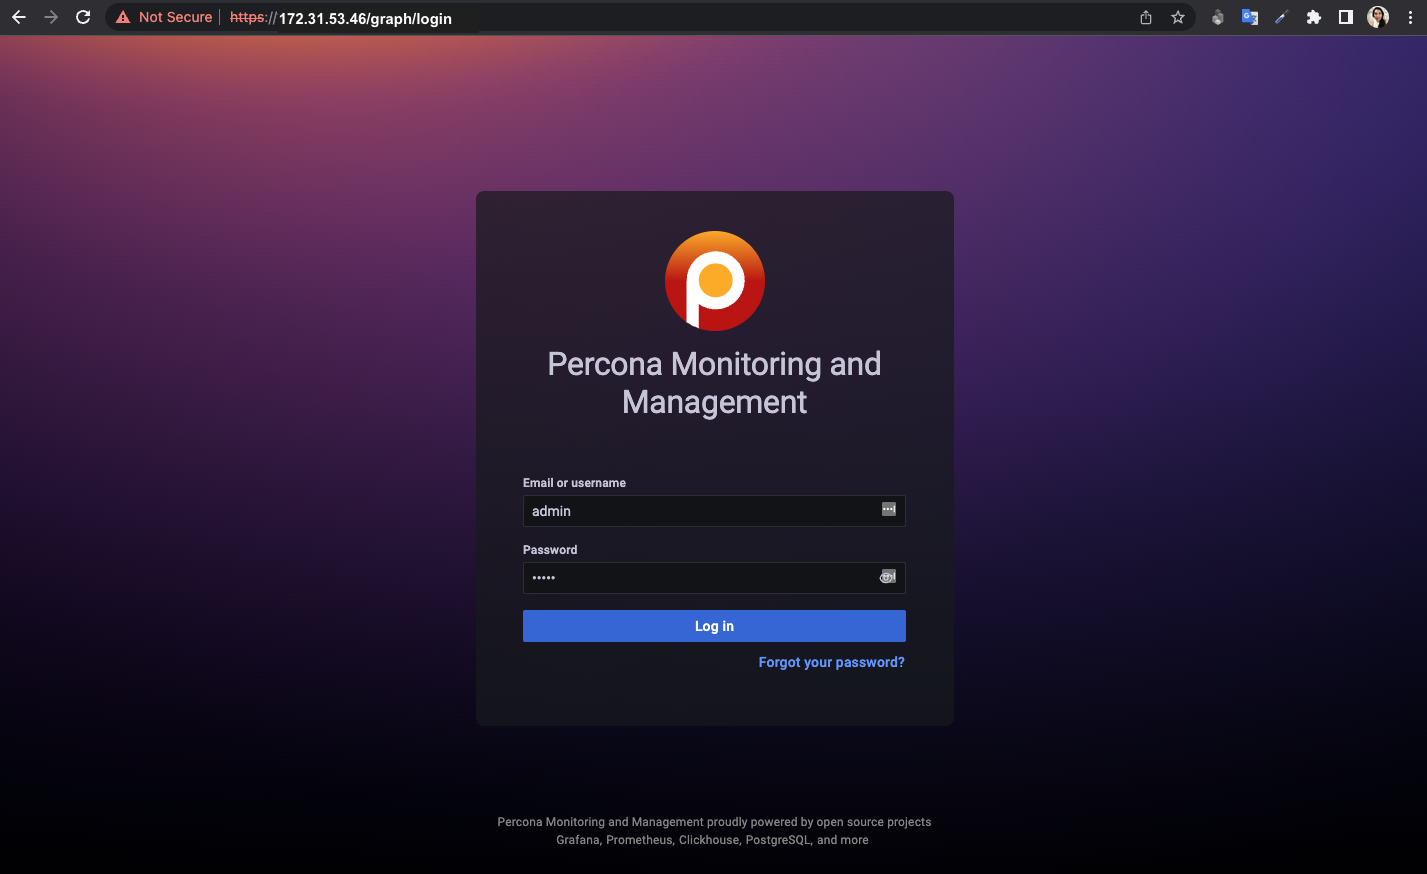
Start a web browser and in the address bar enter the IP address of the PMM server host: https://<PUBLIC_IP>:443/. For example, https://172.31.53.46. If you are running on your local machine use https://localhost:443/. Woohoo! We have a PMM Server running and we can see our dashboard!
Note: Some browsers may not trust the self-signed SSL certificate when you first open the URL. If this is the case, Chrome users may want to type thisisunsafe to bypass the warning.
The user and password are “admin” and “admin”, It will ask you to change the password after login in for the first time, for this demo I will use admin2020 as a password. We will use these credentials to register the node in PMM Server later.
Until now we have only PMM Server. To monitor a database, we need a PMM client.
Installing PMM client
PMM Client is a collection of agents and exporters that run on the host being monitored. Let´s install it using the repository package.
- Download Percona Repo Package
wget https://repo.percona.com/apt/percona-release_latest.$(lsb_release -sc)_all.deb- Install Percona Repo Package
sudo apt install ./percona-release_latest.$(lsb_release -sc)_all.deb- Update apt cache
sudo apt update- Install Percona Monitoring and Management Client
sudo apt install pmm2-client- Checking the installation. We will use pmm-admin in the next steps.
sudo pmm-admin -v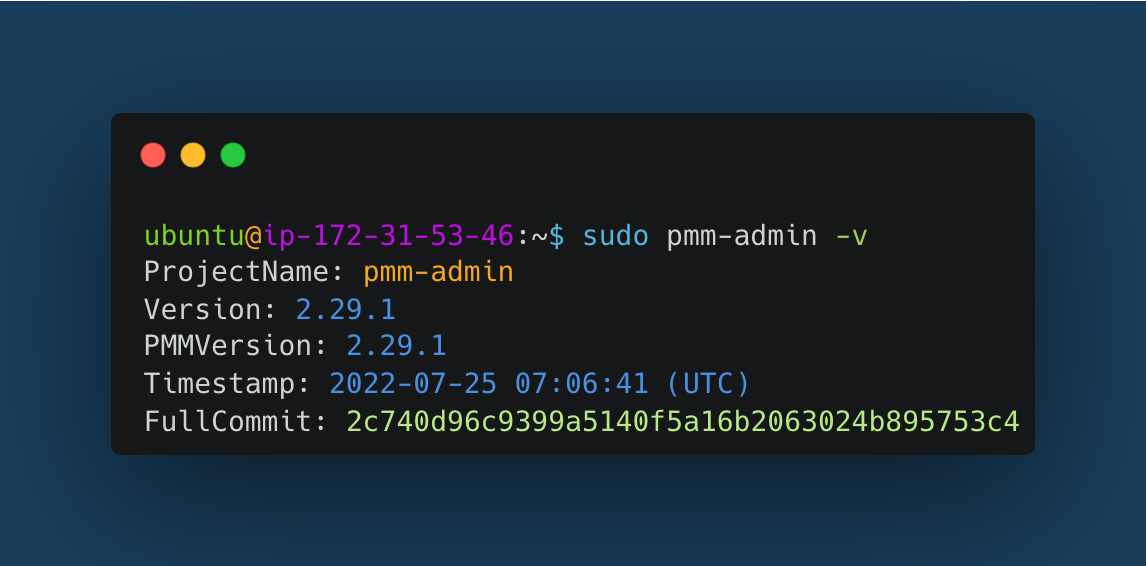
Creating a user for monitoring
Let’s create a user in MySQL.
Login in MySQL for use the command-line: mysql -uroot -p
Create a “pmm” user with “welcOme1!” As a password
CREATE USER 'pmm'@'localhost' IDENTIFIED BY 'welcOme1!' WITH MAX_USER_CONNECTIONS 10;- Give “pmm” user with specific permission to monitor the database
GRANT SELECT, PROCESS, REPLICATION CLIENT, RELOAD, BACKUP_ADMIN ON *.* TO 'pmm'@'localhost';Checking if the user was created correctly with the respective permissions, use
show grants for 'pmm'@'localhost';
Connect Client to Server
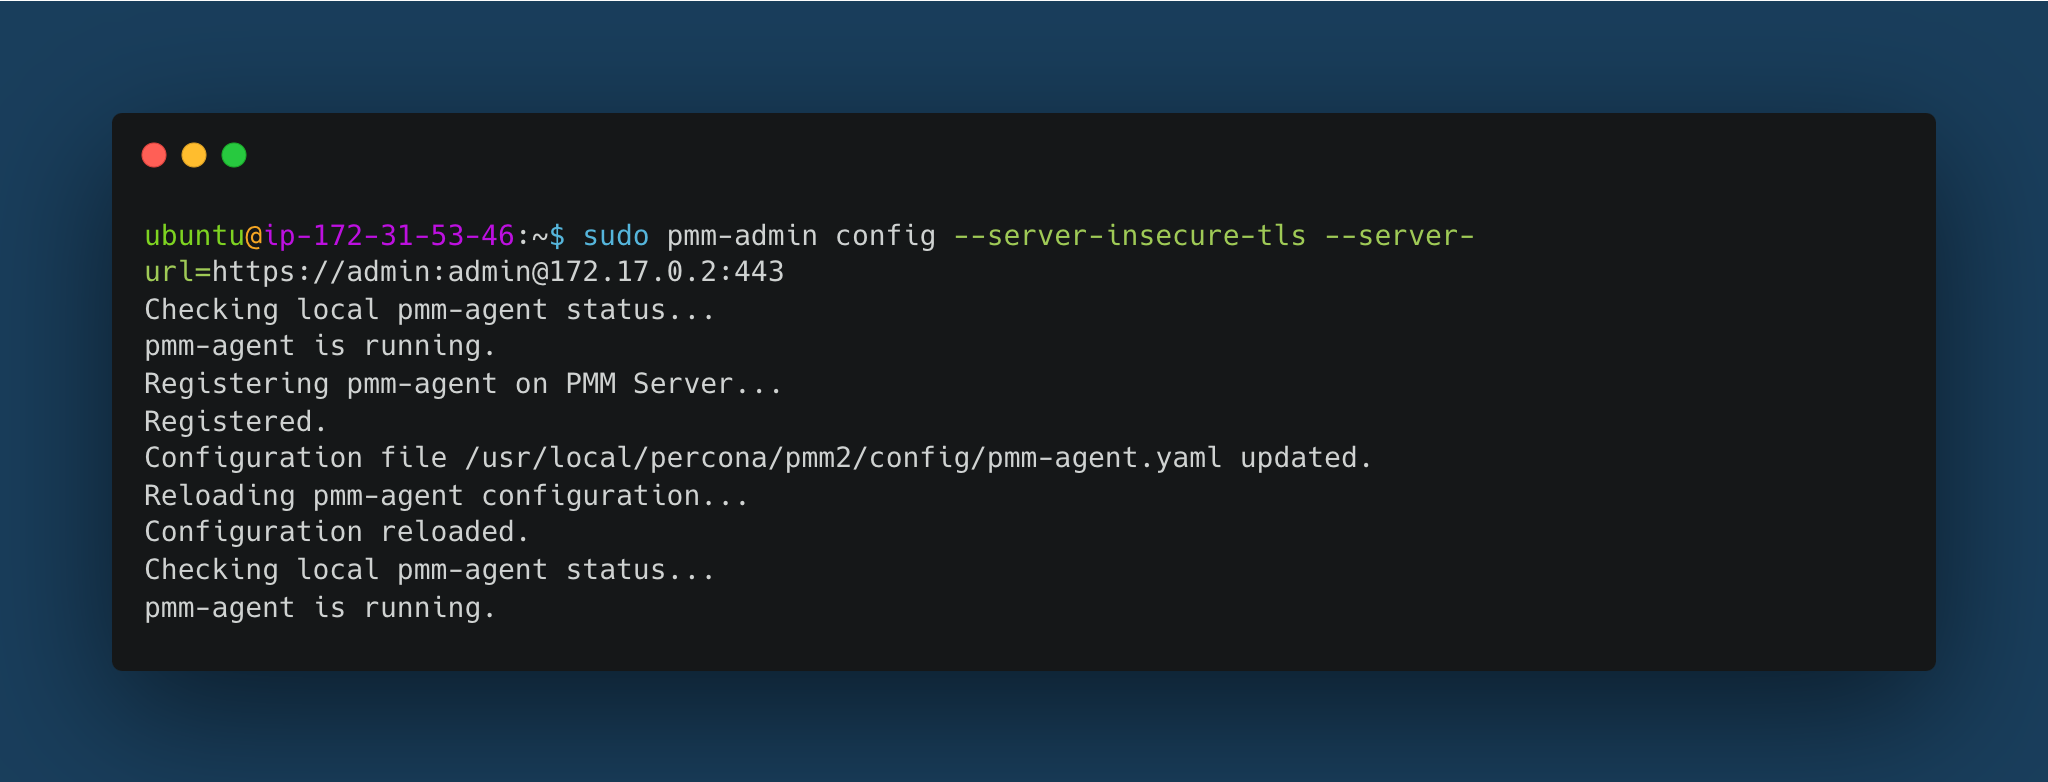
- Register Percona Monitoring and Management client with server, use the default admin/admin username and password.
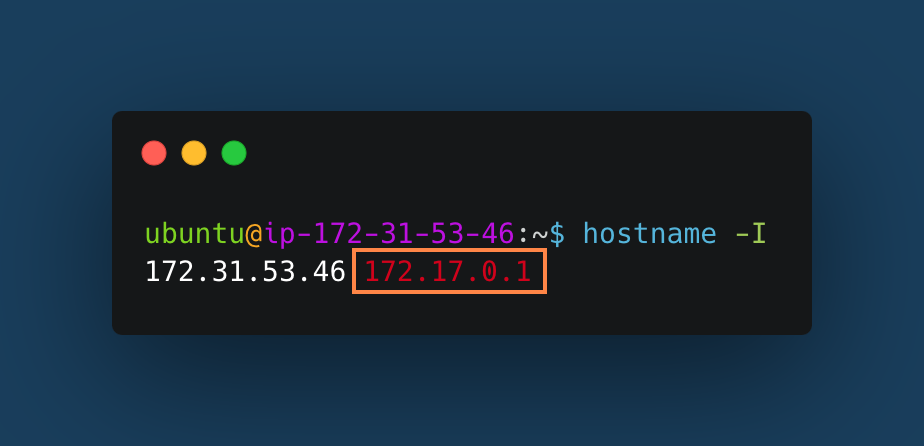
sudo pmm-admin config --server-insecure-tls --server-url=https://admin:admin2020@172.17.0.1:443Note: I am using 172.17.0.1 because this is the private IP where the PMM Server is running. You can get this IP by entering the docker container and typing “hostname -I”
After registering your client with the server you will see this information:
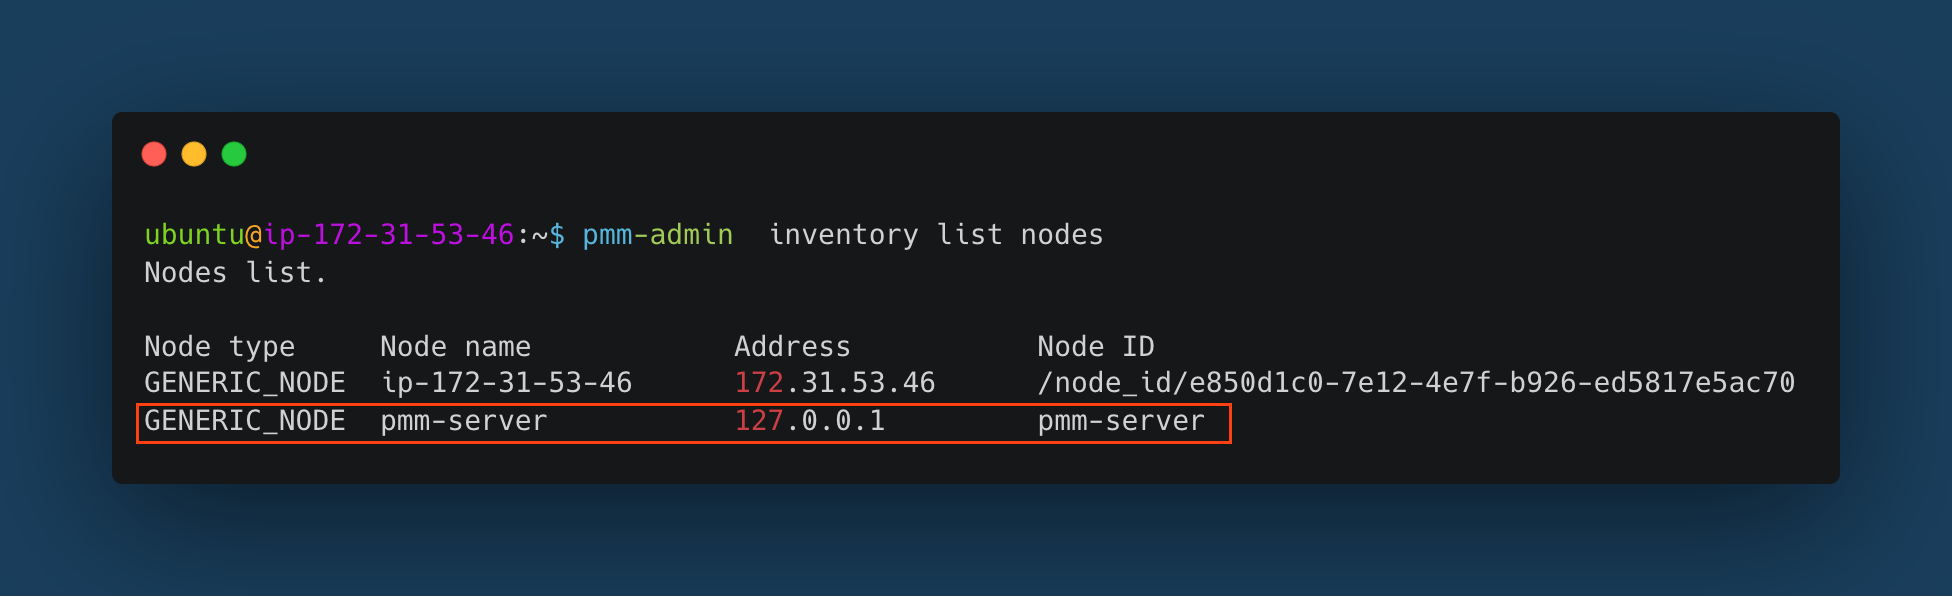
- Check if the node was registered
pmm-admin inventory list nodesA new node should appear in the list which is pmm-server
Adding a MySQL Database to monitoring
- Use pmm-admin to register the database with the user we created in MySQL
sudo pmm-admin add mysql --username=pmm --password=welcOme1! --query-source=perfschema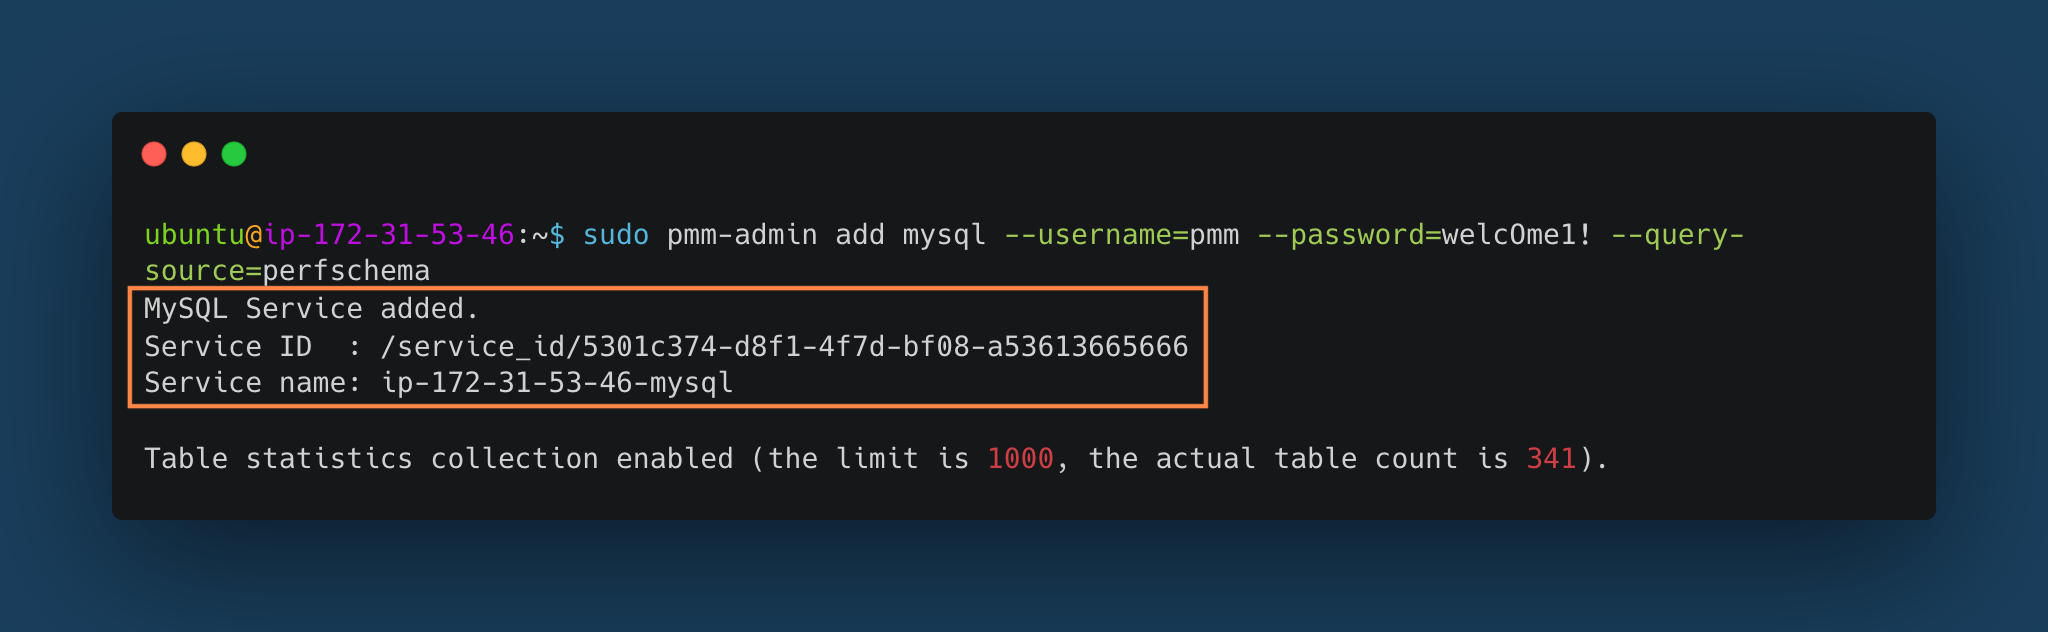
- In the dashboard, we will see that our node and database are registered and ready to be monitored by PMM.
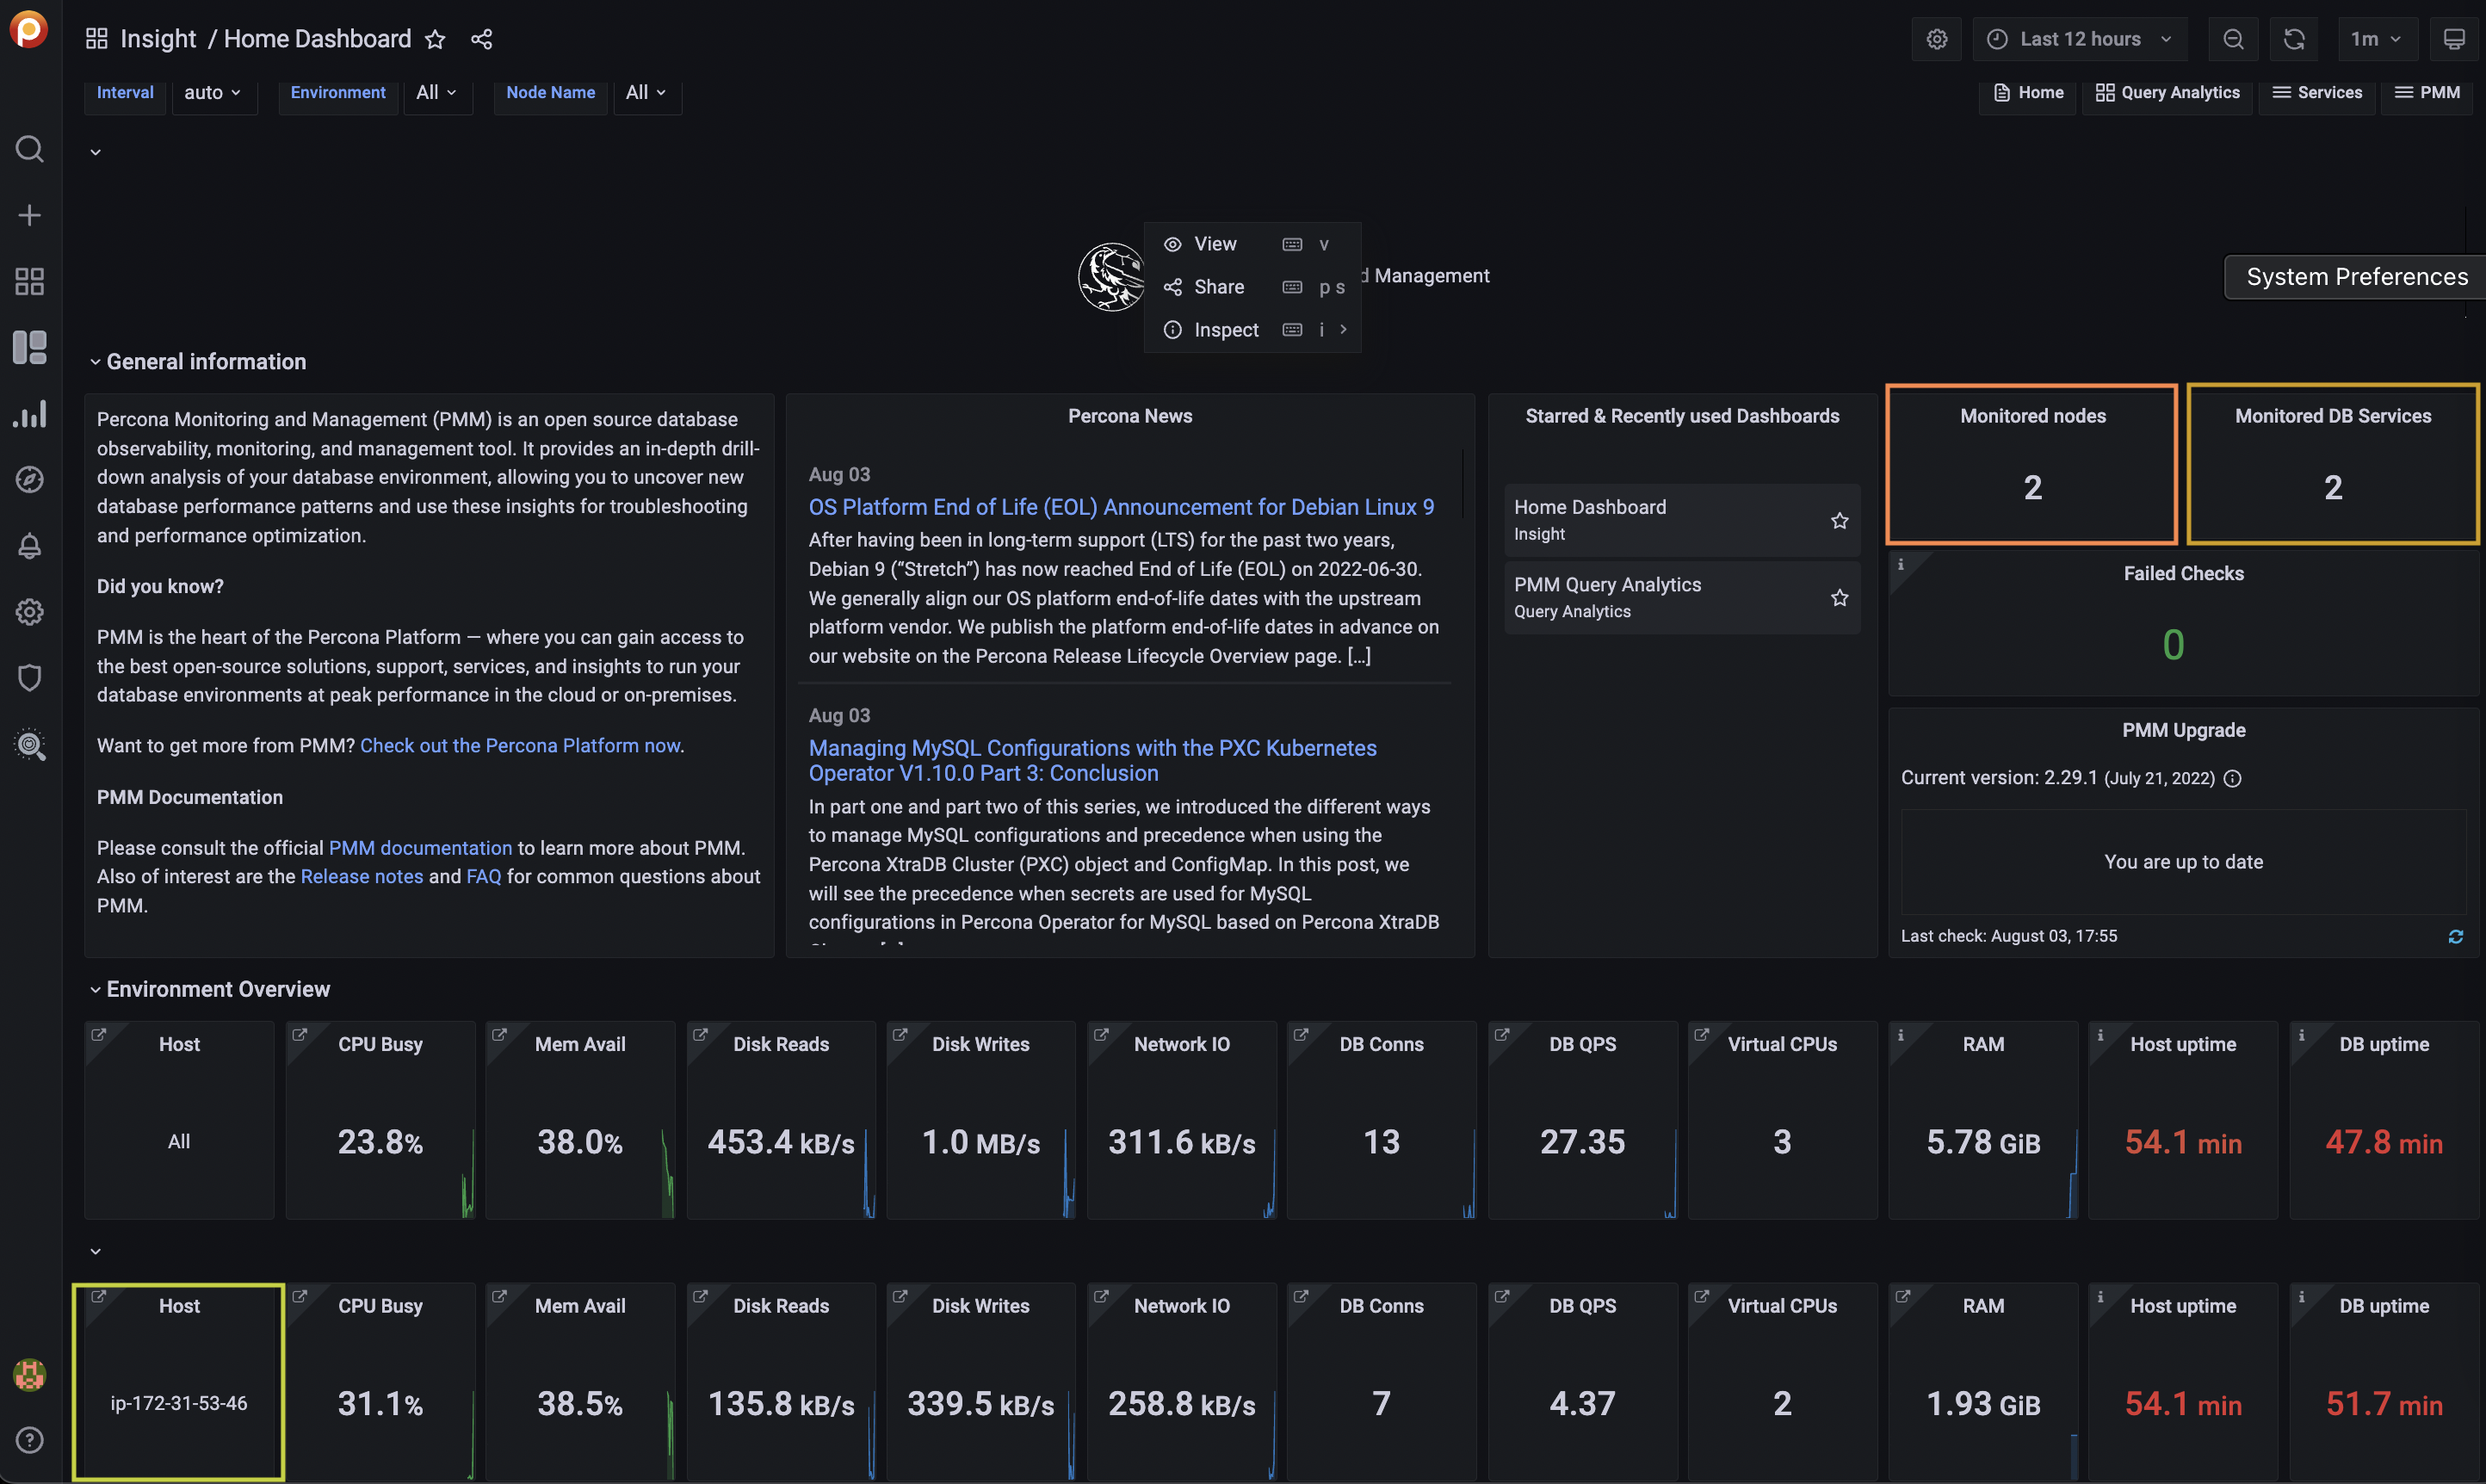
That’s it! :) We learned how to monitor our databases for free with Percona Monitoring Database (PMM). Additionally, you can go to the next level by registering a PMM instance with Percona Platform and receive more information.
I hope you’ve enjoyed this tutorial, and if you need help following it, feel free to contact the Percona team support. We will be happy to help. ∎

Discussion
We invite you to our forum for discussion. You are welcome to use the widget below.