
How To Contribute to PMM Documentation
We’d love to see more contributions towards the development and improvement of Percona Monitoring and Management (PMM), one of Percona’s most valued projects. Like all of Percona’s software, PMM is free and open-source. An area where we’d dearly love to see some community provided enhancement is in its documentation. In future blog posts, we’ll provide some insight on how to contribute to our software but… the beauty of documentation is that it’s straightforward to maintain, and you don’t even have to be a programmer to be able to provide valuable corrections and enhancements. So it’s a great place to start. In this post, we set out how you might be able to contribute to this to make PMM even better than it is already!
Some context
PMM documentation is available from the Percona website, and it is an essential part of PMM; all the tasks and functions of the developer need to be documented. There are a couple of things that might inspire you to contribute to enhancing the PMM documentation:
- It’s something you can do without feeling you need stellar programming skills
- It is useful for a large number of users.
By the way, if you aren’t sure where to start, there are currently more than 50 PMM documentation improvement tasks listed in JIRA, Percona’s fault recording system. Once you have checked out a few of those and become familiar with the documentation structure and style, you’ll probably be able to find more issues to report… or think of your own improvements.
Even enhancements that help only a few users are very welcome.
A simple example
This article provides a simple example which changes only a few lines of documentation, but these steps are all you need to be able to contribute all manner of documentation improvements. Here, I focus just on the process and tools that are used to create the documentation. You’ll find more background information in the PMM Contributions Overview.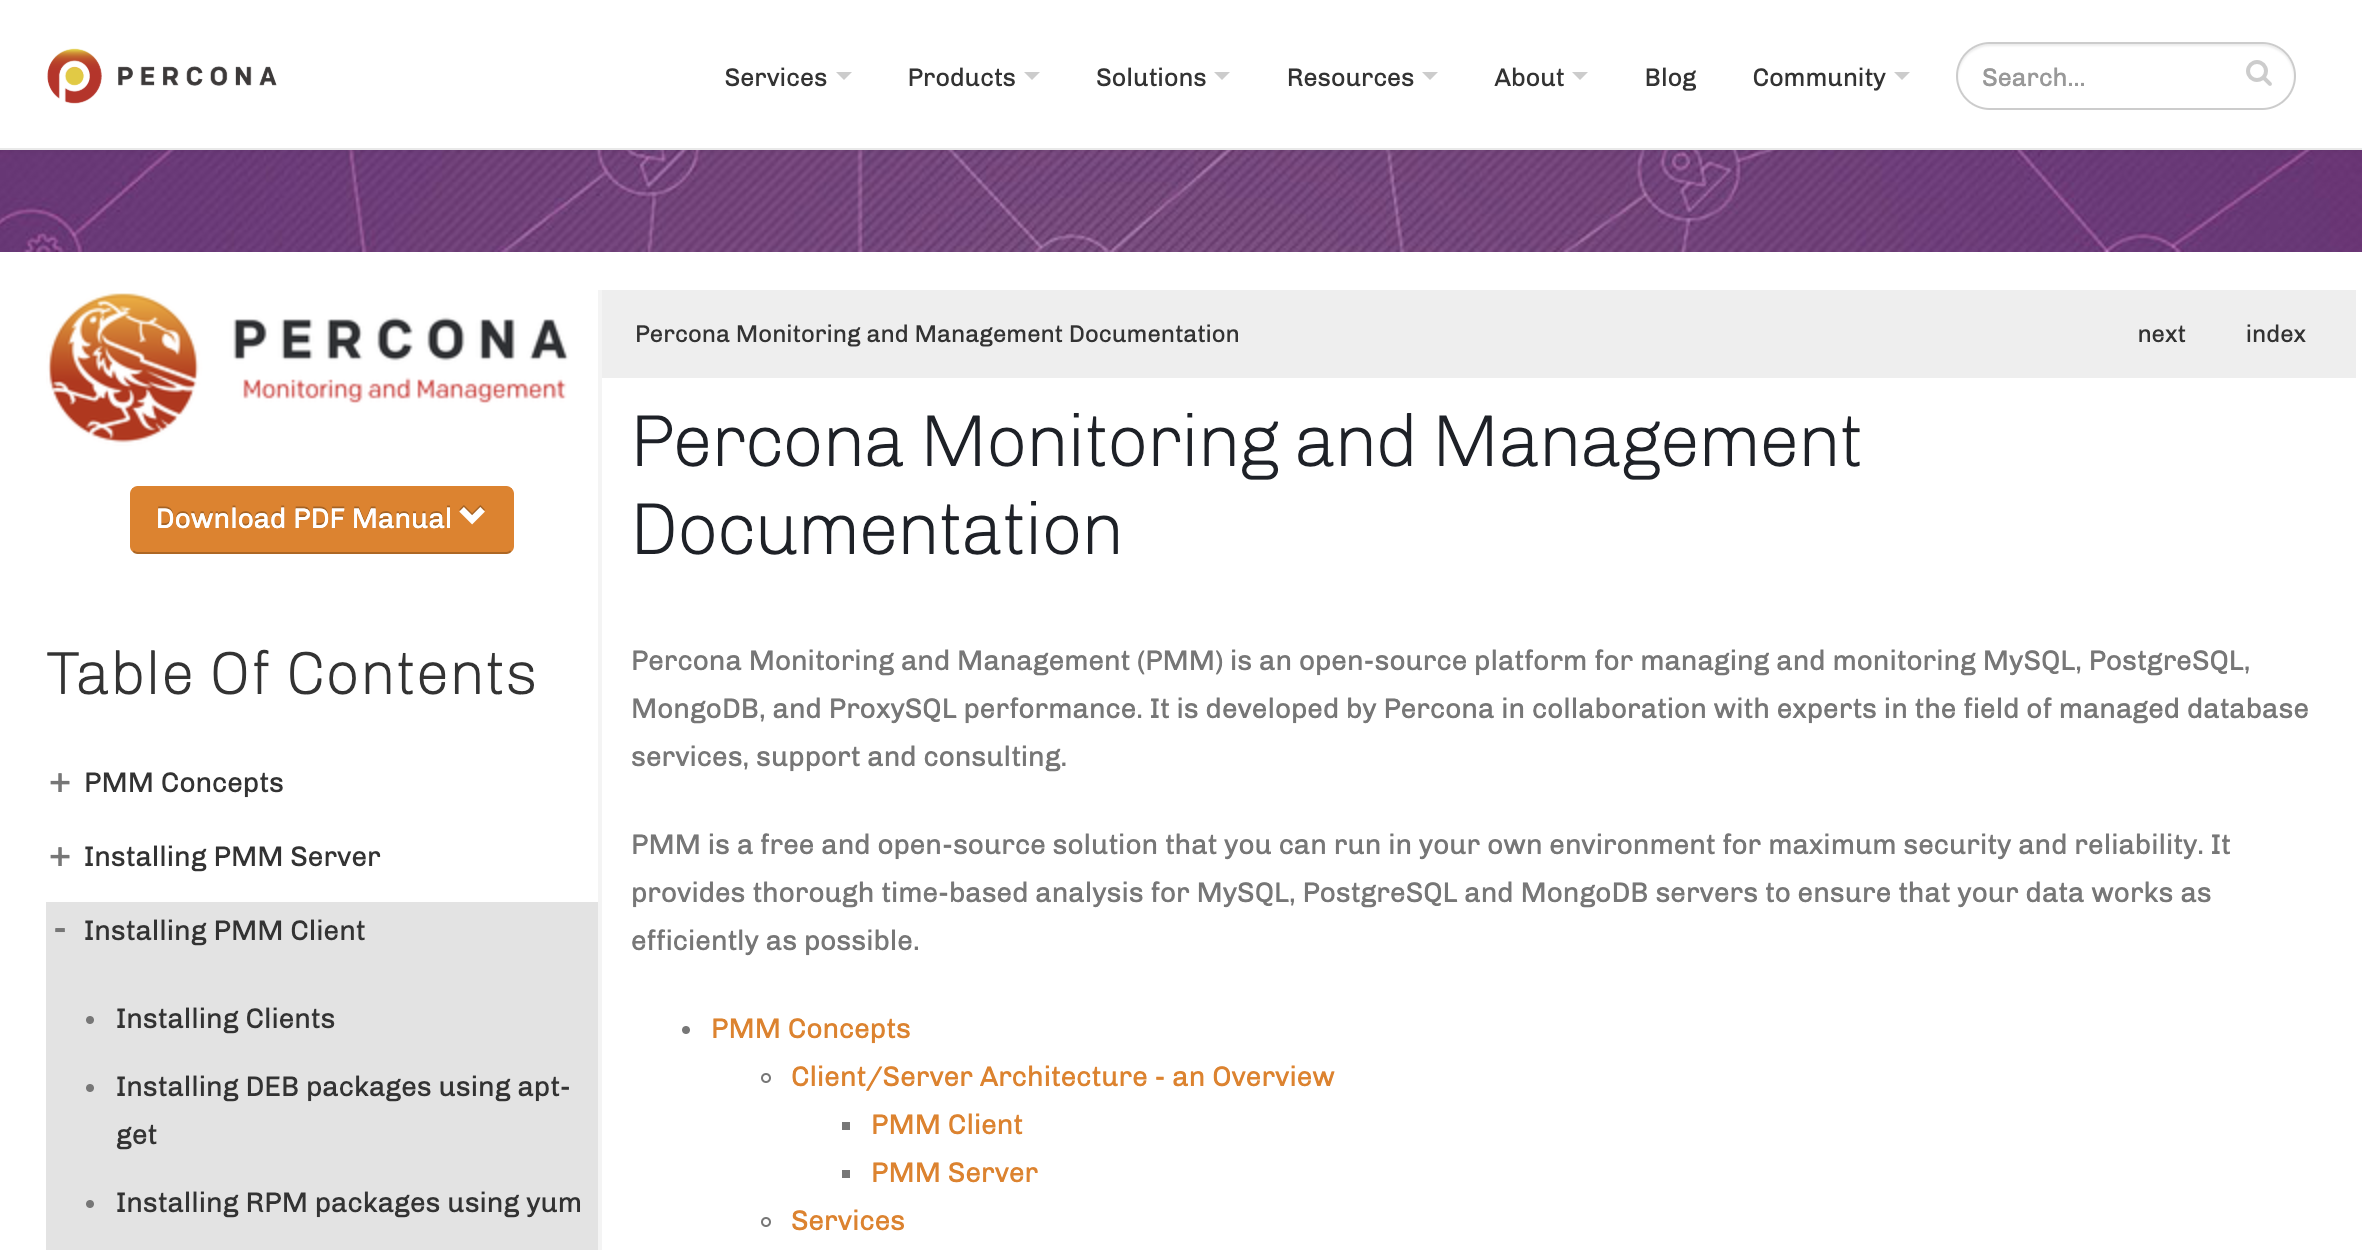
My work plan…
…or a summary
Having decided I was going to be a contributor, too, I created a simple outline of what I needed to do. Here it is:
- Find an existing task or create a new one. PMM is an excellent product, but it has known documentation issues. that I can help with
- Find the repository and install the PMM documentation on my computer so I can work out how to make changes
- Make the changes and test them.
- Send the changes to the PMM repository.
- Go through a review and verification process so that my changes can be published.
In the process of exploring this, I’ve written and published a manual for you, which is available in the primary documentation repository at https://github.com/percona/pmm-doc. This was my small contribution, and you are welcome to help improve that too!
If you’re ready to jump in, though, let’s take a look step-by-step at what’s involved.
1. Find an existing task or create a new one
Percona has identified over 50 specific documentation needs for PMM as shown in Percona’s JIRA repository of all PMM development tasks. Create an account and log in to JIRA, then you can choose a current task, or create a new report to start contributing to PMM.
In fact, for the sake of this example, while I liked the look of quite a few of the existing tasks I wanted to take the first step quickly. So I identified an improvement for the main documentation page and created a new record in JIRA. Here it is:
It’s really important that you use JIRA as the starting point for any changes. This is the only way for the PMM team to find out what your intentions are and to advise you of the best approach. Through JIRA, too, you can discuss the task before you start work. If you want to work on an existing report, then I recommend that you contact the author of the task through comments in JIRA.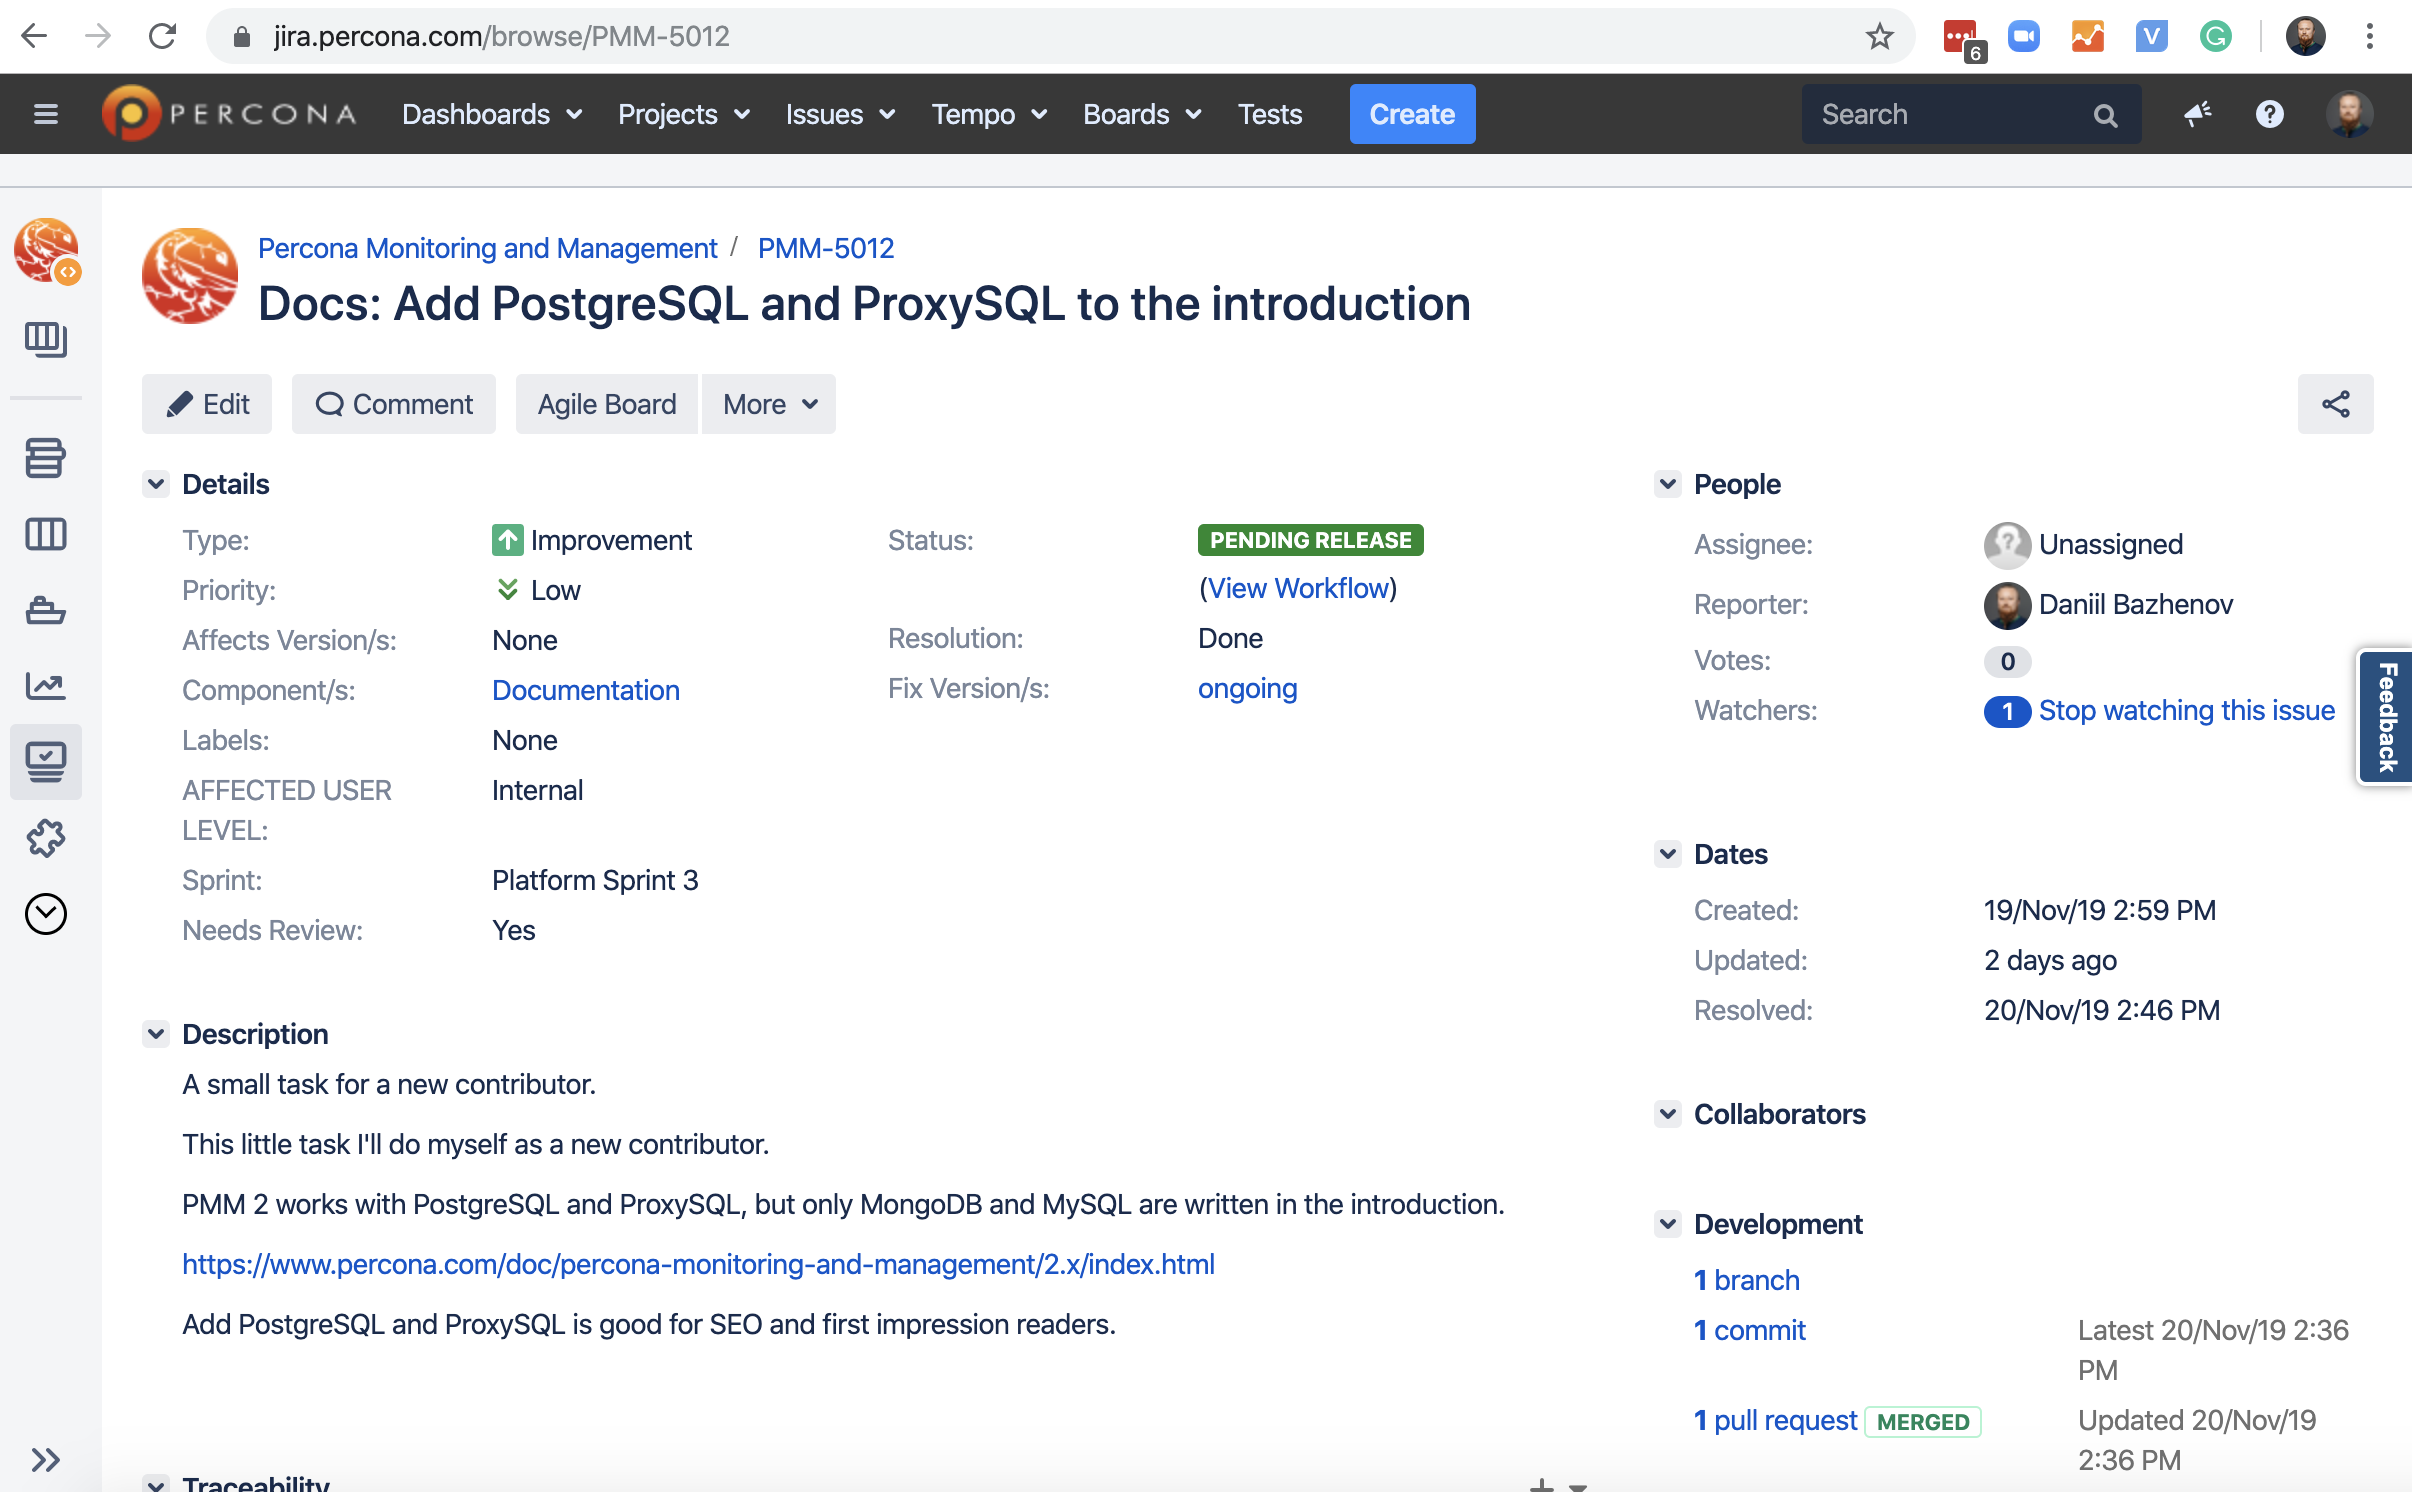
2. Repository and installation
All PMM documentation is written using the Sphinx engine markup language. We store the documentation as *.rst files inside GitHub’s PMM documentation repository. Sphinx allows easy publishing of various output formats such as HTML, LaTeX (for PDF), ePub, Texinfo, etc. You’ll need a GitHub account. A simple overview:
- The text is written using a unique markup language as .rst files. The syntax is very similar to markdown but with its own rules. All the rules are available on the official website or can be found implemented in existing documentation.
- Source files are stored in the GitHub repository. Each version of PMM has its branch in the repository.
- The Sphinx engine collects the source code into an HTML documentation. This works very quickly.
In fact, you don’t even need to install Sphinx-doc, you can write or edit documentation without it just using a standard editor.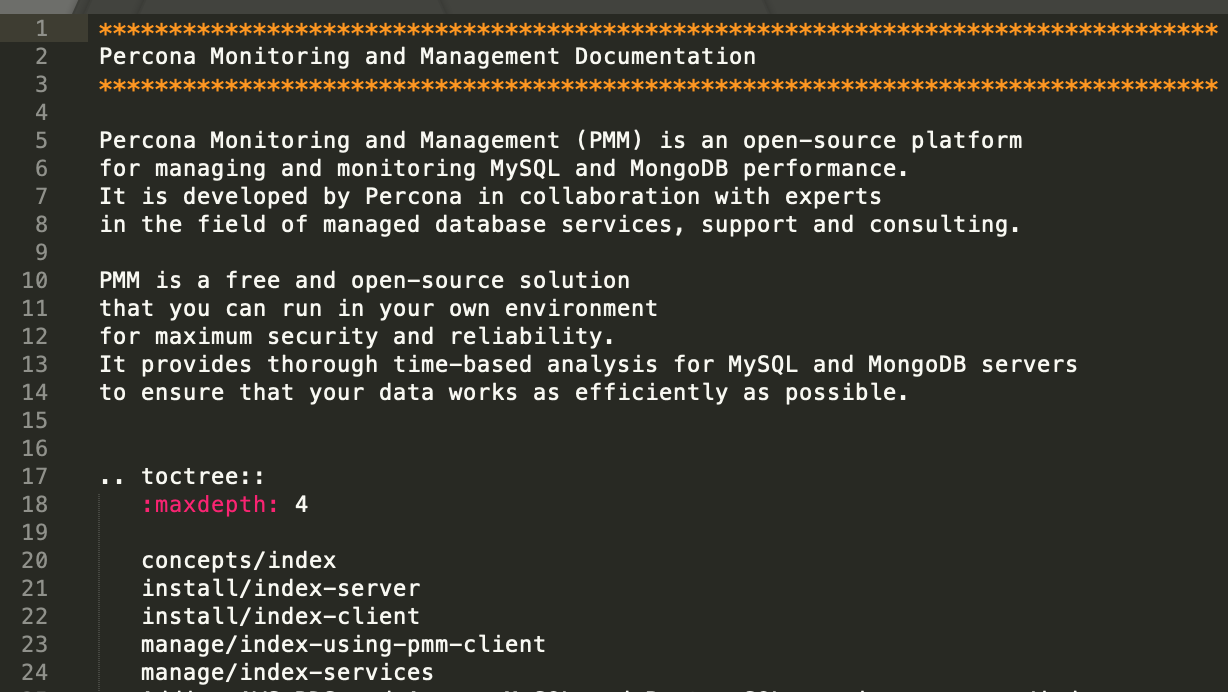
To begin, fork the PMM repository under your GitHub account. You can then edit this personal fork safely, without interfering with the main repository. Later on, Percona can pull your changes into its main repository.
Local installation of the documentation
Install the documentation locally on your computer. Here’s the process:
- Clone the fork repository to your environment.
- Install Sphinx-doc according to the instructions in the repository
- Build the documentation. Use the instruction from pmm-doc repository (see p.3 in Install section)
- Check the result in your browser. You may need the Apache webserver on your computer. For example, you can use a Docker image with Apache (link). However, documentation may open in your browser without this.
- Edit some changes and rebuild.
- Check the changes in your browser.
… and so on. It’s essential not only to install but also to check what you can change. If you’d like more instructions, please leave a message in the comments to this post or contact me by email.
3. Making changes and testing them
Now you can make changes. Two important points:
- If you aren’t sure how make changes correctly, take a look at how others do it. There are already plenty of changes in the documentation; and you should be able to see them.
- It’s essential to make changes properly, otherwise your hard work will be wasted.
We have already selected or created a task in JIRA, and we will need its ID. The JIRA task ID is used as an identifier for the JIRA and GitHub bundle.
We need to create a new git branch. When creating a branch, correctly name it using the formula: JIRA_ID_SHORTTITLE. For example, my GitHub user is dbazhenov, and the changes I’m making are related to the JIRA task PMM-5012, so here’s the command:
git checkout -b PMM-5012_dbazhenov_introductionSo… you found the right page and made some changes. If you created a new page, there are examples in the existing documentation. In this case, you need to create a new page file and include it in the toctree level below. If you need help with that, please just ask.
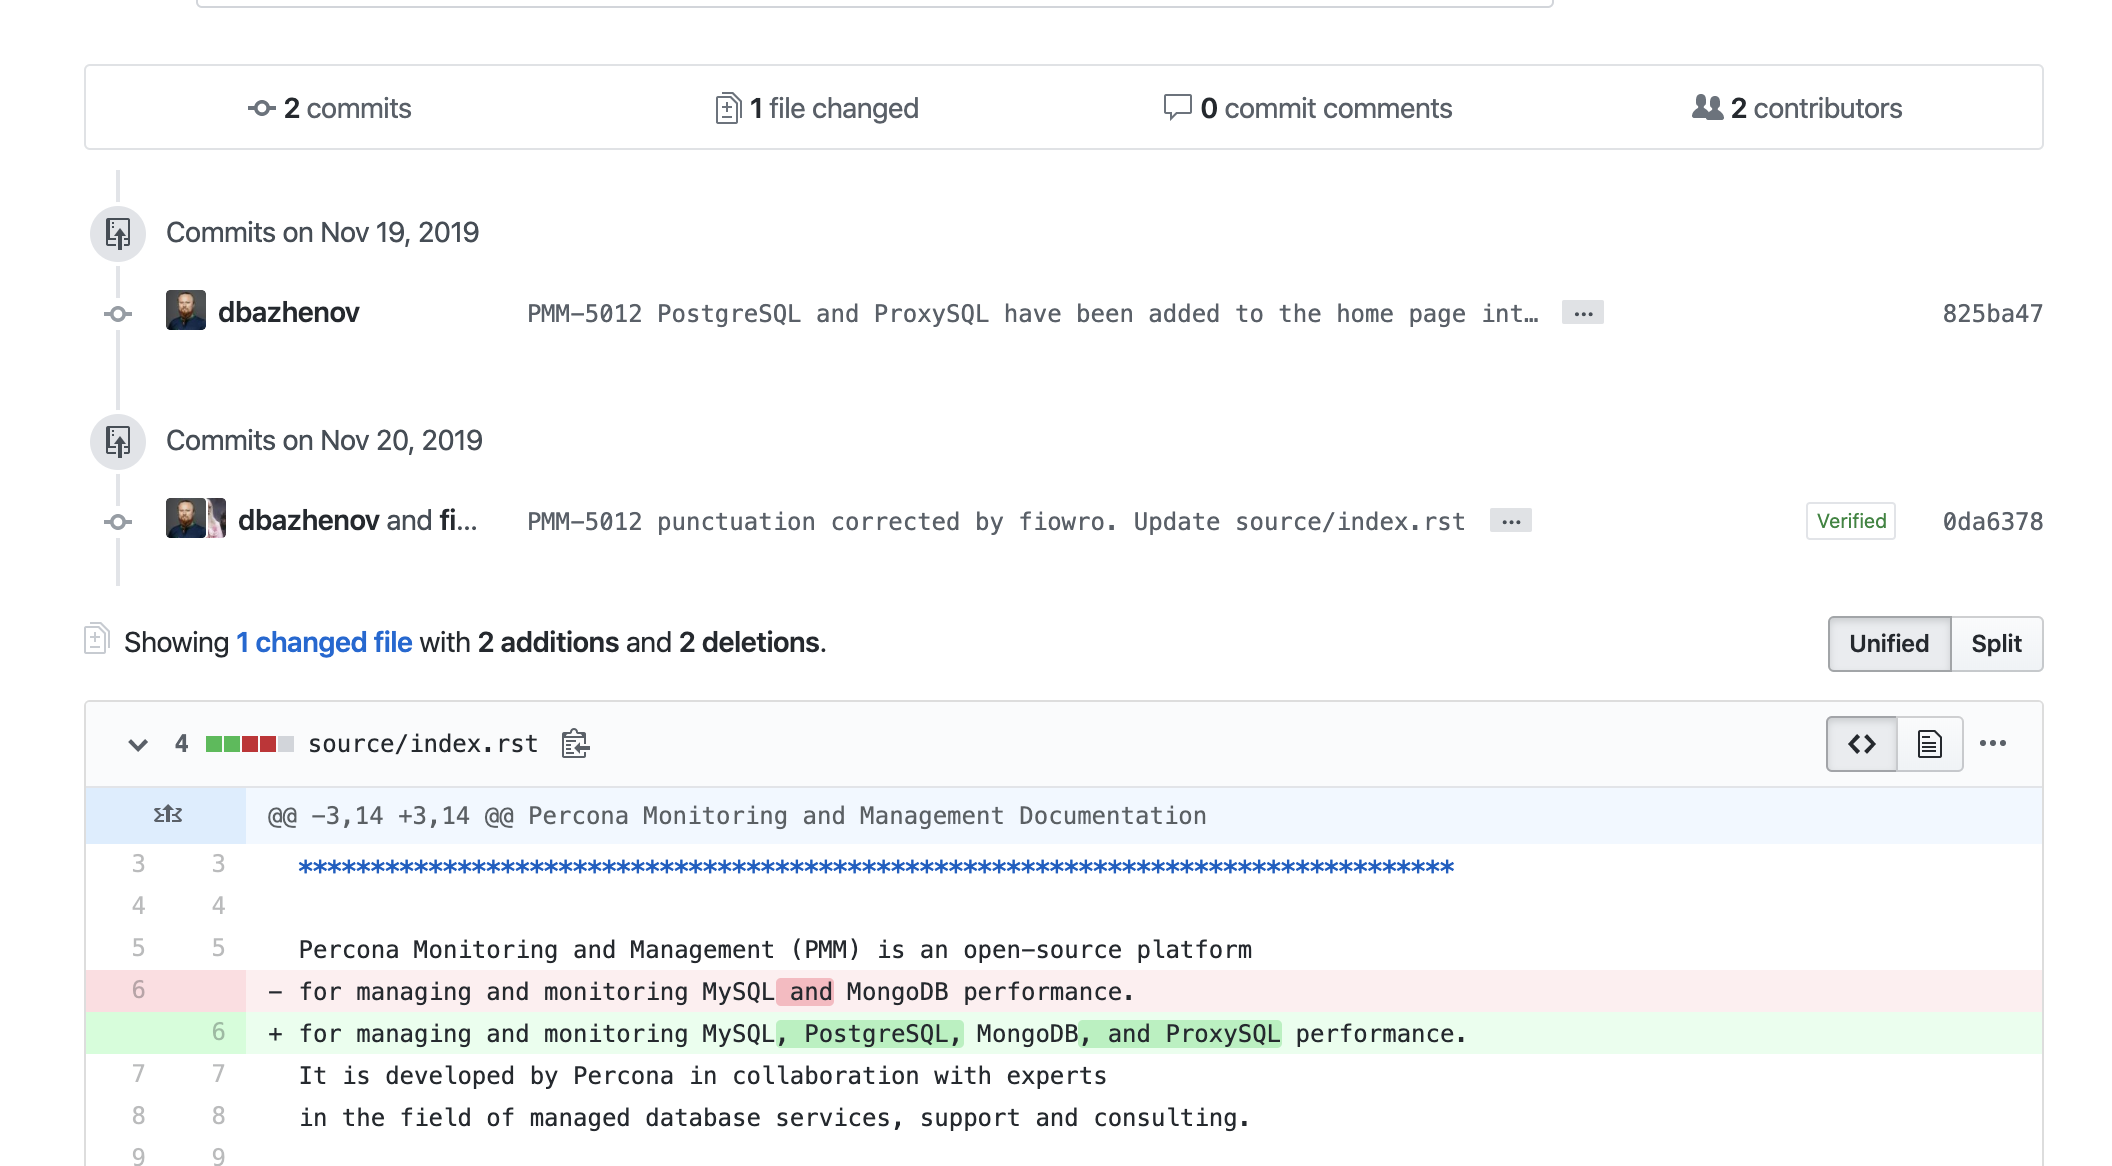
Now save your changes to git and be sure to call the commit correctly. What do I mean by that? Well, be sure to use the task ID and describe in detail the change you’ve made. Here’s my example:
git add .
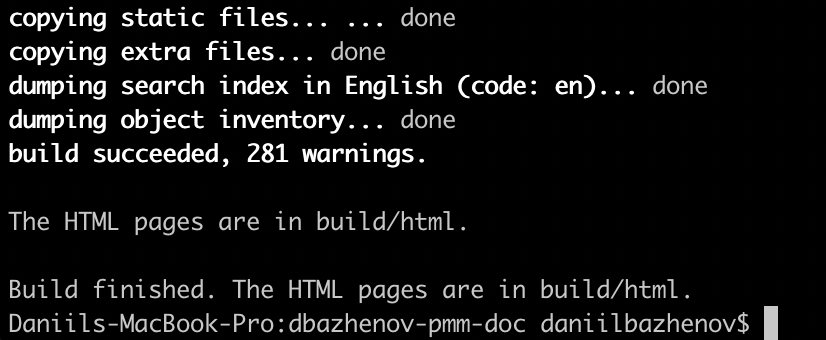
git commit -m "PMM-5012 PostgreSQL and ProxySQL have been added to the home page"Now, build the documentation and check the result in your browser. If you get warnings during the build, this is mostly likely to be due to using different versions of Sphinx and nothing to worry about.
When you see the documentation, don’t worry that it’s not CSS or JavaScript, only pure HTML. In due course, it will be built into the current percona.com website and will inherit its styling from there.
4. Saving the result and contributing
This is where you send your work to the PMM team. First, you have to send your branch to your own fork. That’s straightforward:
git push origin PMM-5012_dbazhenovNow, open your repository and check the results. In particular, make sure that your branch holds only the changed files. It’s possible that additional files have been uploaded. To check the result, create a pull request in the master branch of your repository. This will give you a list of the changes that you’ve made.
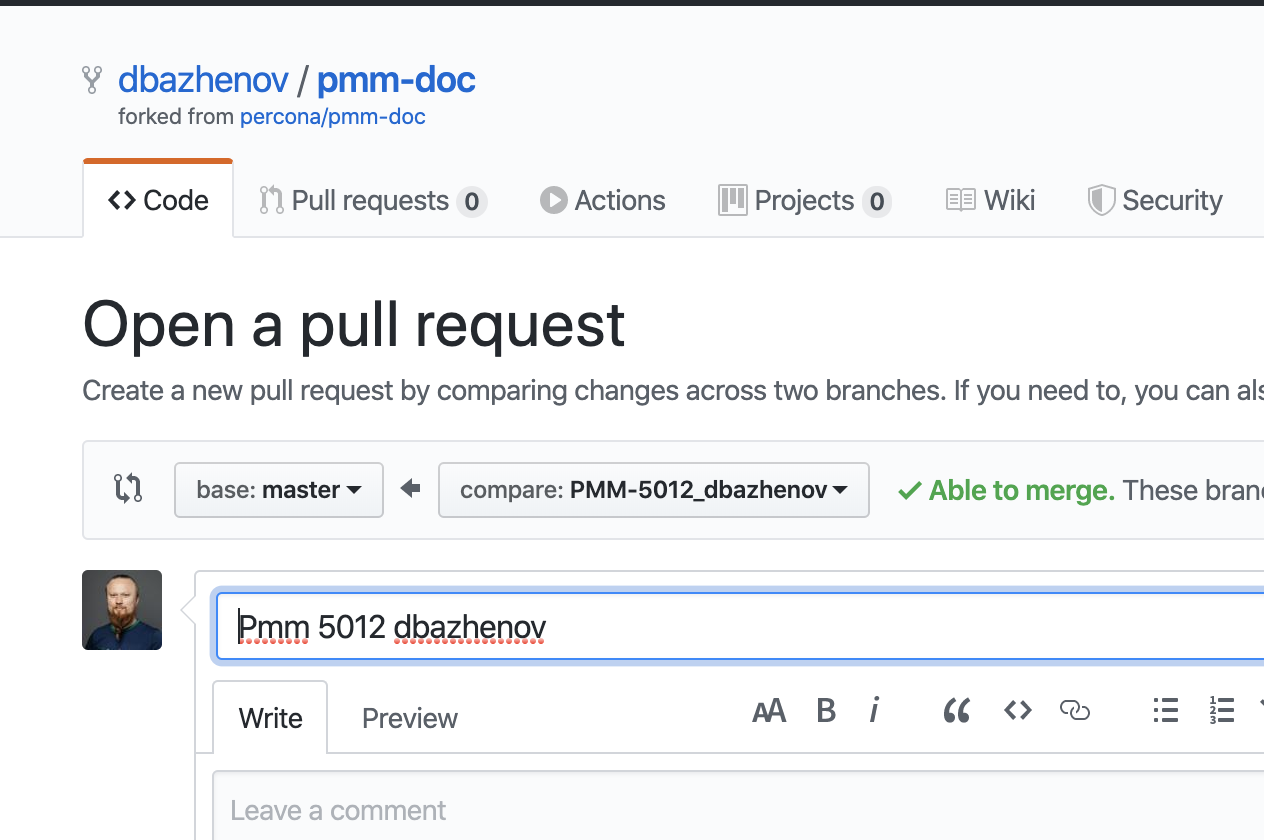
Once you’ve checked that the pull request has only the intended changes, you can make a second pull request, but this time it’s to the Percona repository.
Here’s my pull request: https://github.com/percona/pmm-doc/pull/45
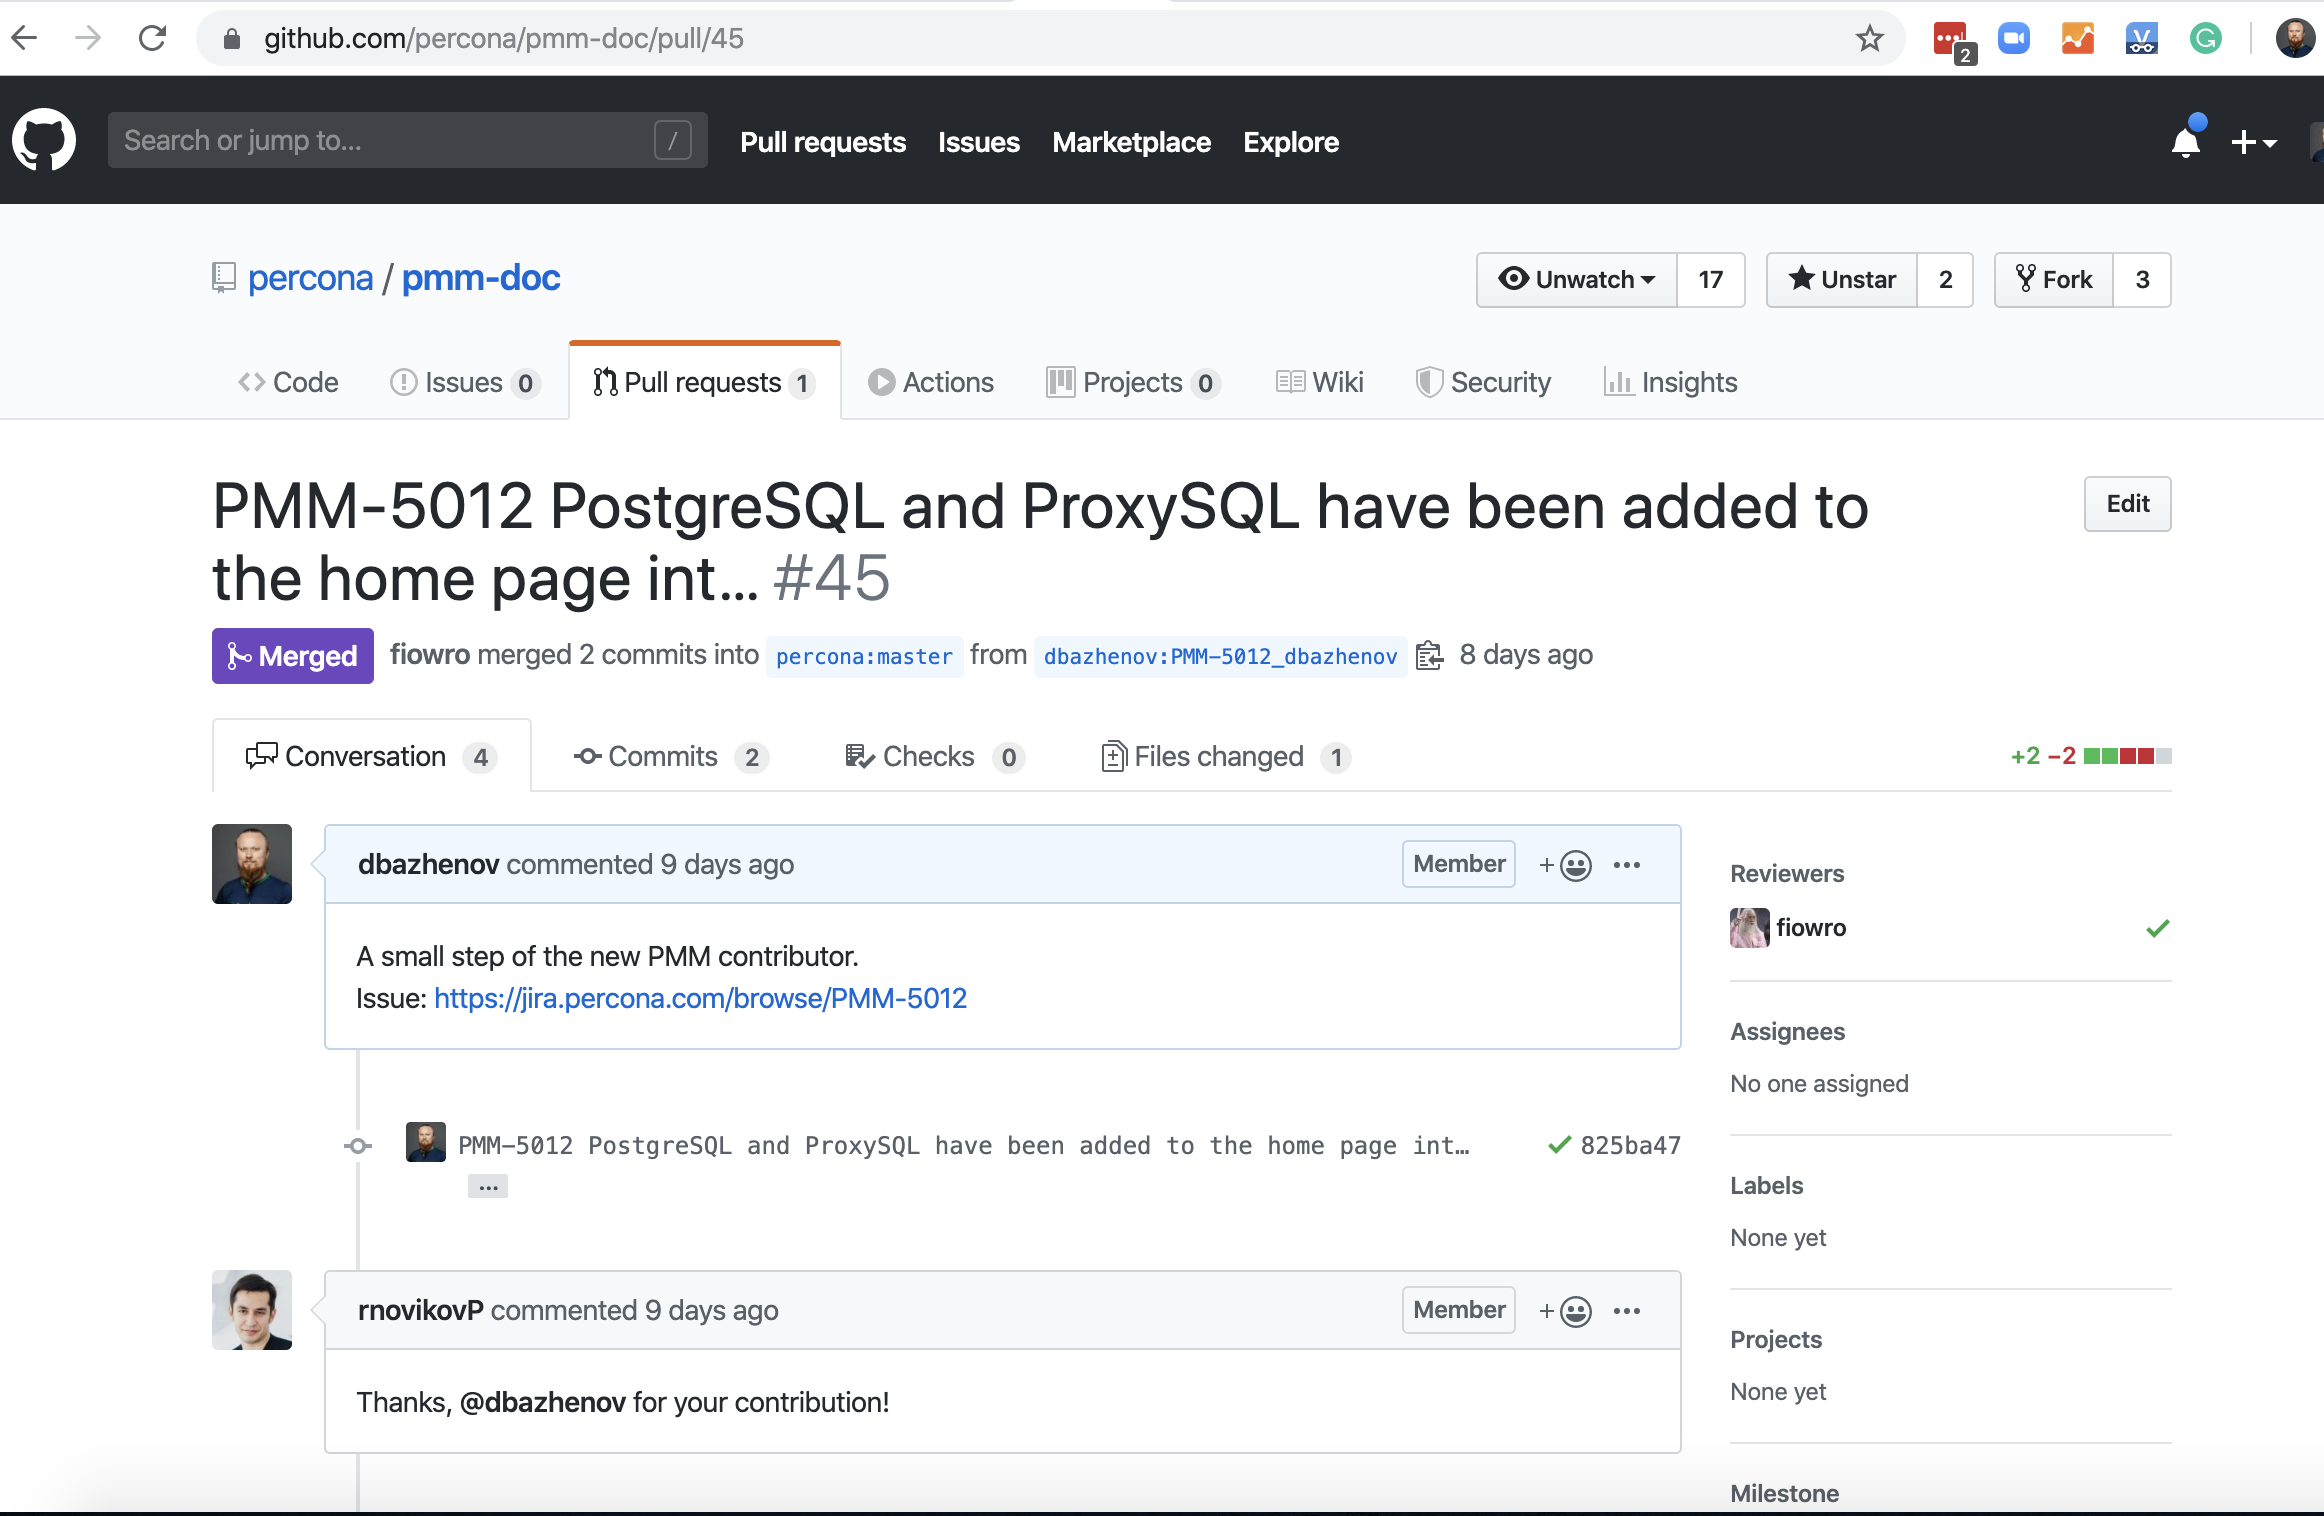
5. Passing a review
All submissions are thoroughly reviewed before being released. This guarantees the quality and safety of PMM. Even if it’s “just” documentation, it has a very important role to play in the user experience.
You will also need to confirm the Contributor License Agreement.
Once I’d submitted my changes, I waited a little while, and then the Percona team checked my work and sent it back to me for improvement. I made the necessary changes and – this is an important point – I sent them to the same pull request.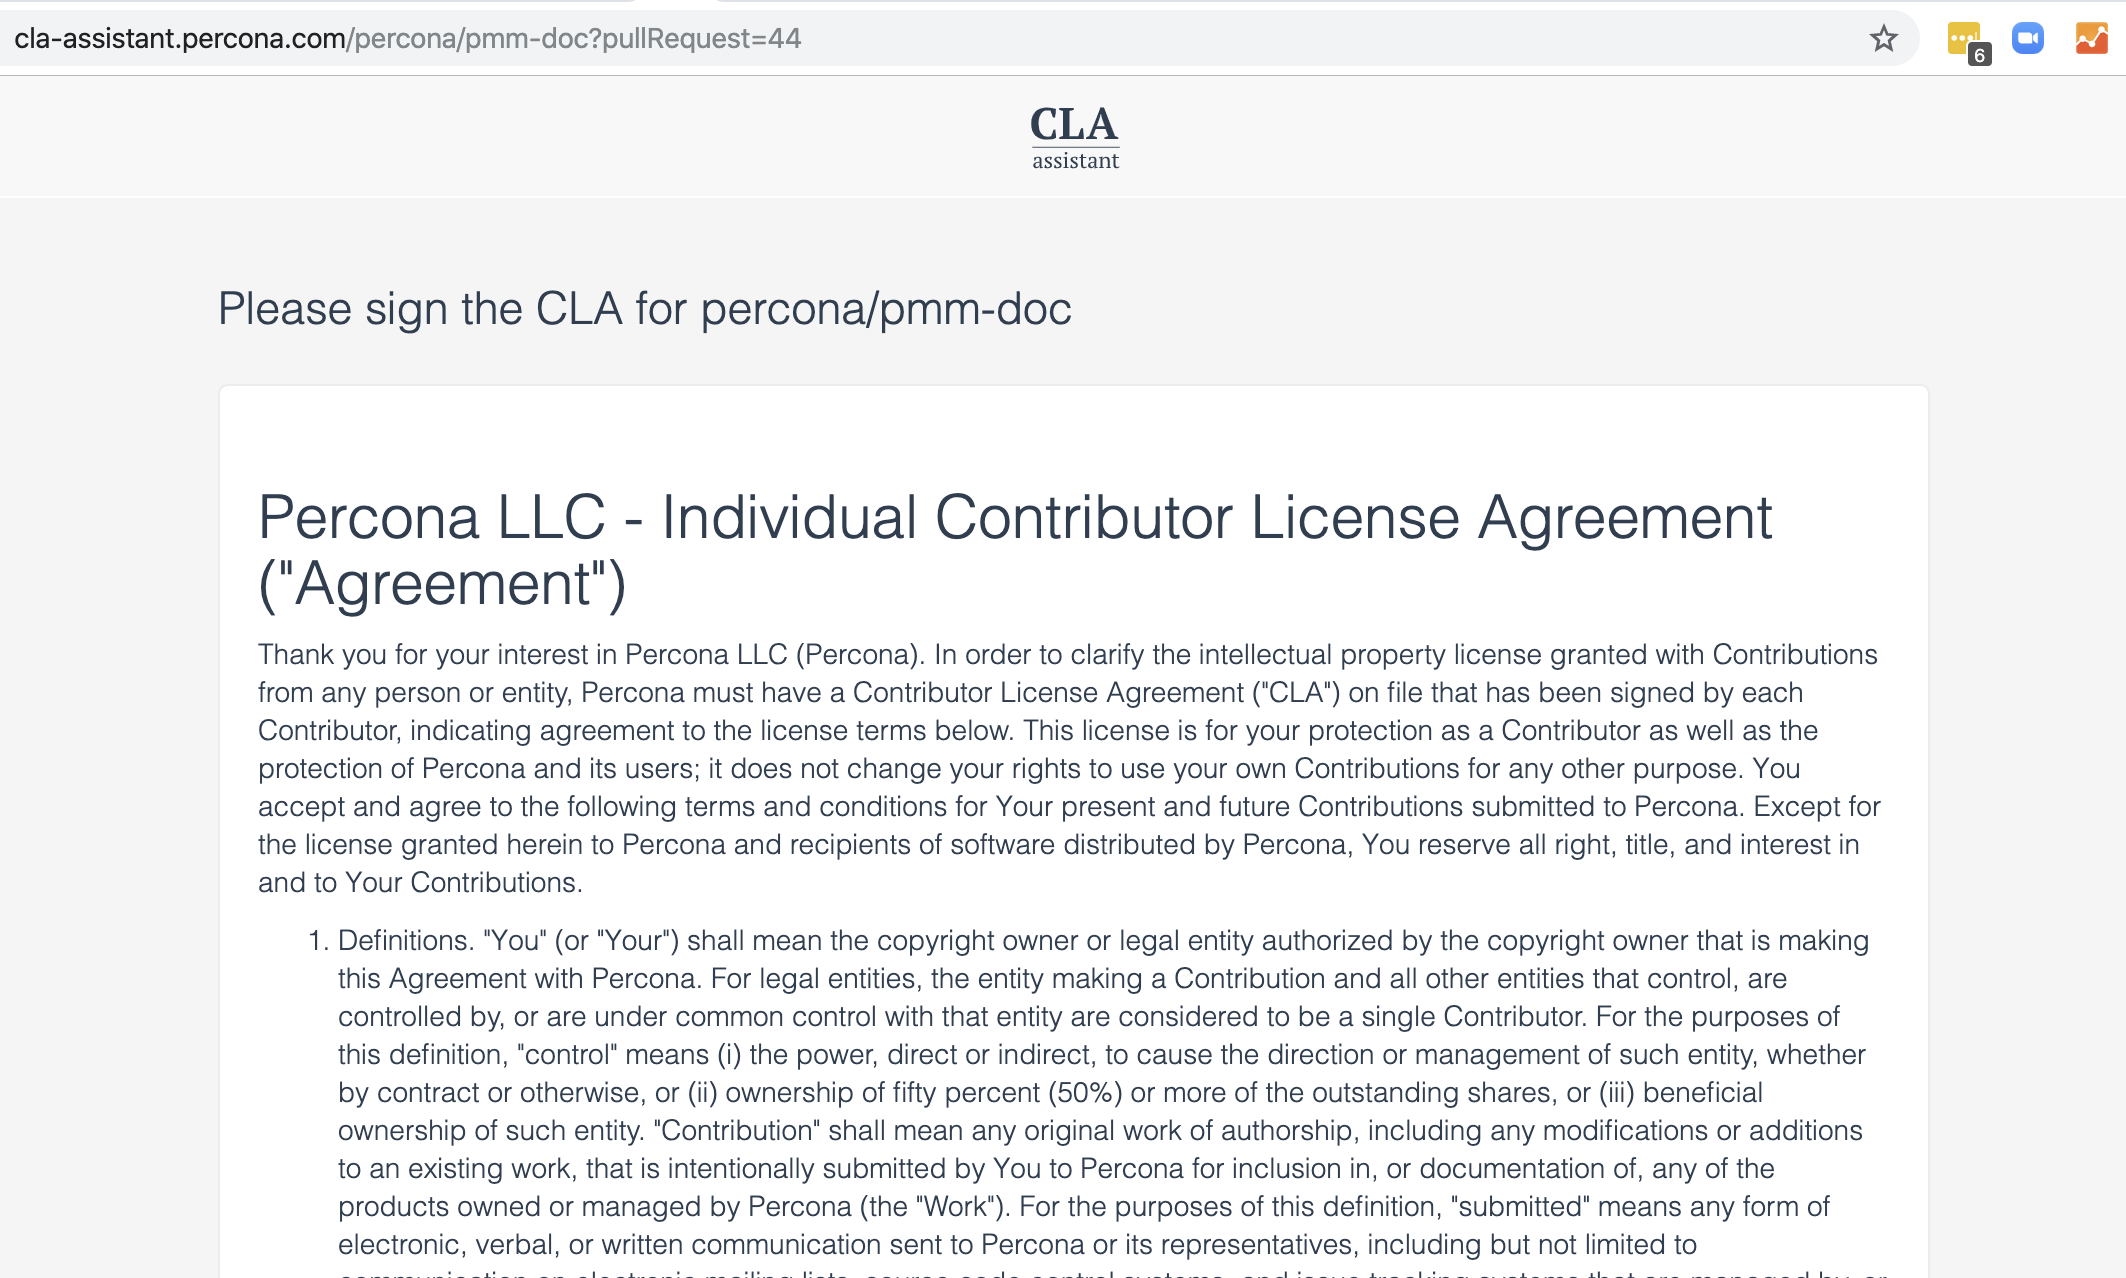

Release
There’s nothing for you to do here, the Percona team have to create releases of software and documentation.
After a few days, Percona published my changes to the PMM documentation site.
https://www.percona.com/doc/percona-monitoring-and-management/2.x/index.html
That’s how I ended up on the list of pmm-doc contributors.
Conclusion
Contributing to documentation is a great way to start your journey as an open source contributor, especially if you are not too familiar with git and GitHub. If you’d like to start contributing to open source, then I recommend you try contributing to the PMM documentation. Instructions here: https://github.com/percona/pmm-doc
All the same, I realize that documentation is not for everyone, even as a means of introduction. So here are some ideas and options for contributing to PMM in other ways: https://www.percona.com/community/contributions/pmm
As already reported, I more than happy to help you out. Just sent me an email to community-team@percona.com and add “PMM Community” to your subject line so that my colleagues know that the email’s for me. Good luck! ∎

Discussion
We invite you to our forum for discussion. You are welcome to use the widget below.